Creating and distributing Esri custom widgets (Part 1)
Creating and distributing Esri custom widgets (Part 1)
This is the first of four posts where I will describe an end-to-end workflow for developing a custom Esri JavaScript widget and distributing it across multiple locations. Specifically showing how to:
- Build a single standalone custom Esri JavaScript API widget.
- Use the widget within an Experience Builder application.
- Use the widget within a standalone Esri JavaScript Application.
- Publish the widget to ArcGIS Enterprise 11.0 (To be done once 11.0 is released).
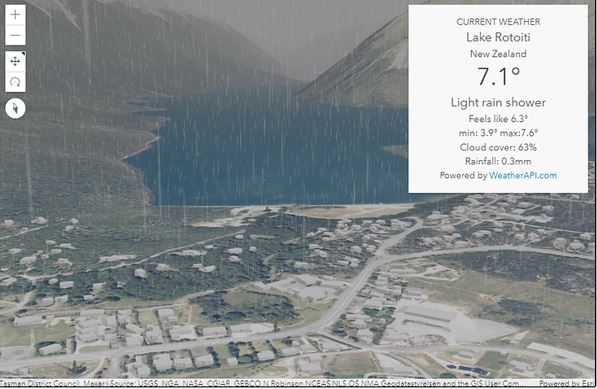
An example of the widget can be viewed below.
https://one-widget-app.azurewebsites.net/
Inspiration for this came from the blog posts by Gavin Rehkemper on the Esri GeoNet site:
https://community.esri.com/t5/gis-blog/the-one-widget-part-1/ba-p/896799
https://community.esri.com/t5/gis-blog/the-one-widget-part-2/ba-p/896887
The details of how to publish to npm, were modified from the details in this blog post from Georgi Parlakov here.
Overview
In this first post, we will:
1. Create a repository for our widget
2. Add tools to support building and testing our widget
3. Automatically build and publish the widget to npm
The widget we are building is a live weather widget, which will take the current location on the map, and return the current weather at that location, additionally, if we use it with a SceneView, we can use the latest tools from the Esri JavaScript API, to create a realistic view of the location
To use the weather API, you will need an API key, you can create a free account at WeatherAPI.com to get one.
You will also need an npm account as well, these are free, however, if you also want to create an organisation and create private packages, then this will cost $7 USD per user a month.
1: Create your repository
If you do not have an Azure DevOps organisation, you can sign up and create one for free.
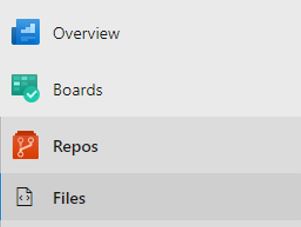
Within Azure DevOps, create a new project then navigate to the Repos->Files page.
Your project may already have a repository in it, from the drop box, select New repository
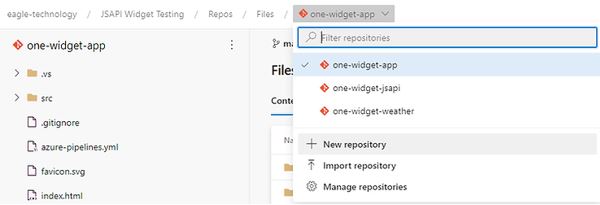
Enter a name for your repository and accept the rest of the defaults.

Now that we have the repository created, we need to clone it on to our local machine so we can start developing.
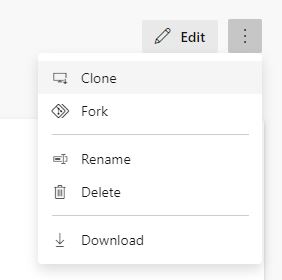
In the top right of the screen click the ellipsis and select Clone.
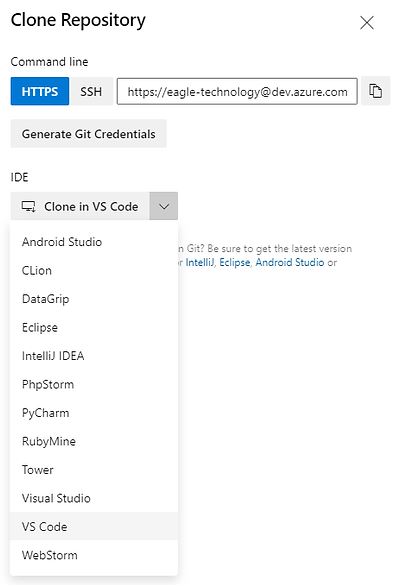
Next select the IDE that you want to use, in this example, we will use VS Code. (Ensure you have VS Code installed already, the link to download is here)
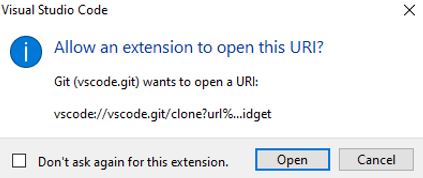
Allow the extension to open the URI.
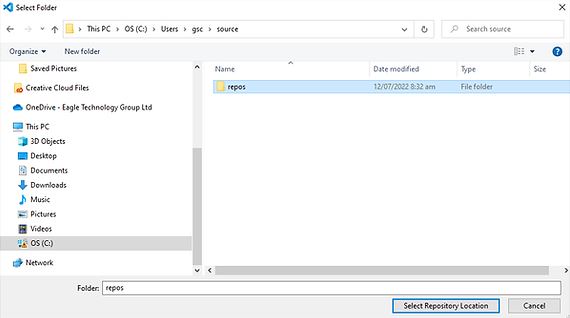
Enter a folder location to store the repository, it's a good idea to have a single folder for all your development projects.
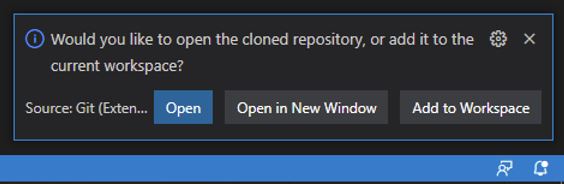
VS Code will now clone the repository and ask you if you want to open it, select Open.
Within the root of the repository, build out a folder structure as below.
widget
--src
--model
--view-model
The widget folder will hold all of the files for our custom widget. The src folder contains the .tsx and ts files for our widget. The model folder will hold any files relating to any data-related classes that we will create. The view-model folder will hold any view-model classes that we create.
2: Get set up with npm
The next step in creating the custom widget is to install some of the libraries we will need to support our widget. We will use NPM to scaffold out the details of our widget and allow us to install these libraries.
NPM will create a package.Json file that will store the details of our widget, and which extra libraries we will need to install to support it and it can also be used to build and publish our application.
Open a command prompt or use the terminal window in VS Code (if you are using it) and navigate to the root of your widget, if you have followed the folder structure suggested in the first section, this will be the /widget directory.
1. Run the command
npm init

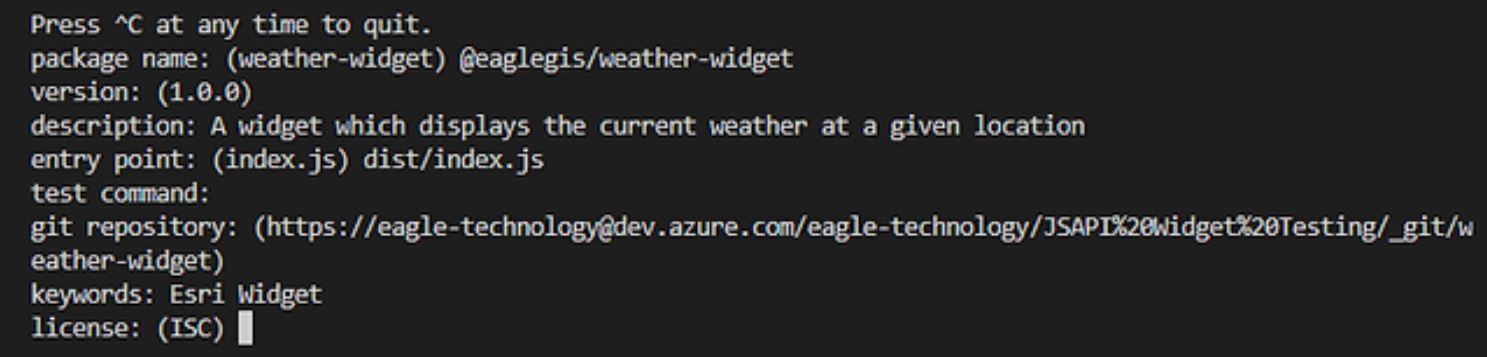
The first question will be the package name, give your widget a name, use lowercase letters, and use the - character for spaces. As we are publishing to a npm organisation, we add in the name of the organisation (scope) and then the name we want to give to our widget.

Accept the default for the version. Enter a meaningful description for the widget, this will be displayed in the npm website when the package is published. For the entry point enter dist/index.js Accept the default entry for the test command. Hit Enter to accept for the default git repository (if you have created the repo this should be pre-populated). Enter some keywords that will make your widget searchable. Hit Enter to accept the default for the license.
You should see a readout of what npm is about to create, hit enter to accept it.

You should now see a package.json in your folder.
Open the package.json file and add the following.
"module": "dist/index.es.js",
"jsnext:main": "dist/index.es.js",
"source": "./src/widget.tsx",
"type":"module",
"types": "dist/widget.d.ts",
The next step is to install the libraries that will be used to allow us to create and build the desired functionality in the widget.
Open a command prompt/terminal window and ensure that you are in the widget folder.
Enter the following command to install the Esri JSAPI.
npm install @arcgis/core
rollup.js is a build system that will package our widget into an output module which we can then publish to npm.
Enter the following command and hit enter.
npm install --save-dev rollup
npm install --save-dev rollup-plugin-commonjs
npm install --save-dev rollup-plugin-peer-deps-external
npm install --save-dev rollup-plugin-node-resolve
npm install --save-dev rollup-plugin-typescript2
To ensure we are writing good quality code, we should install a test system so that we can write unit tests to help prevent regressions coming into our code. We will use the jest library for testing.
Enter the following commands.
npm install --save-dev jest typescript
npm install --save-dev ts-jest @types/jest
npm install --save-dev ts-jest
npm install --save-dev ts-node
As we want to report the details of our test results to DevOps, we should also install JUnit which allows us to produce output that can be read by DevOps.
npm install --save-dev jest-junit
Finally, we will install copyfiles which will allow us to push files from our build into our demo app where we can debug it.
npm install --save-dev copyfiles
4: Configure components
Add a .gitignore
In the widget folder, add a new file and call it .gitignore and add the following to it.
node_modules
.DS_Store
dist
dist-report
*.local
package-lock.json
This will tell git that we do not want to push these files up into our repository.
Configure TypeScript
All the code that we write will be done in TypeScript. TypeScript is a superset of JavaScript that provides strong typing for JavaScript, it helps prevent issues that can occur with JavaScript and ultimately aids in producing better code.
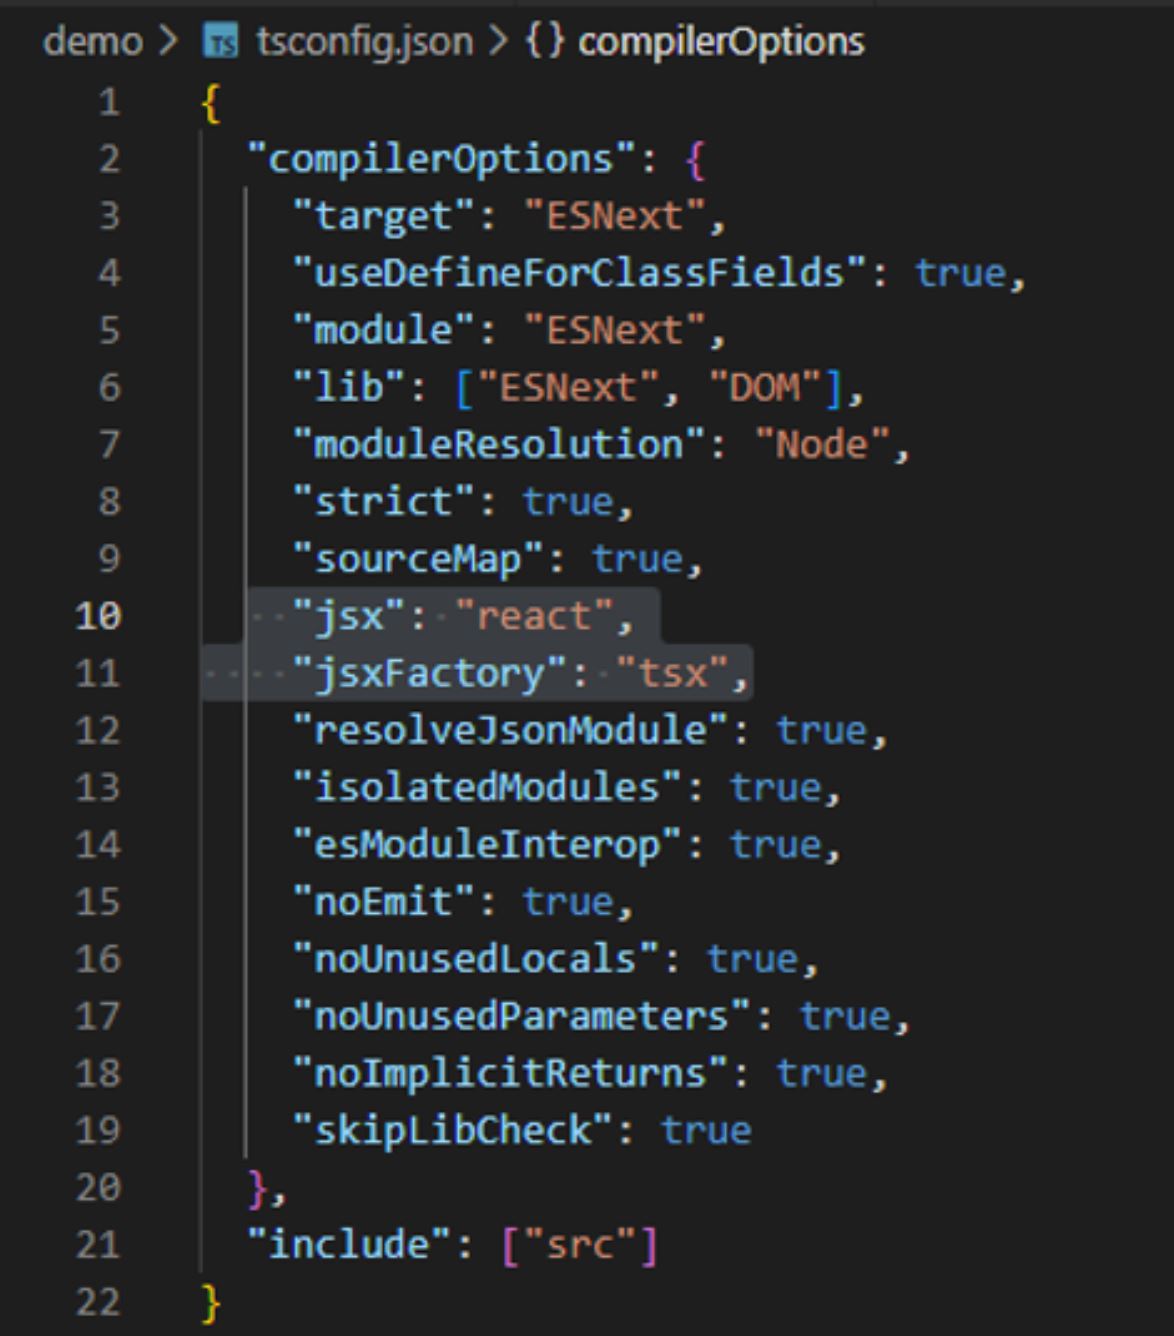
Within the widget folder, create a new file called tsconfig.json.
Once created enter the following into the file. This will tell the TypeScript complier how we want to compile the TypeScript we write into JavaScript.
{
"compilerOptions":
{
"outDir": "dist",
"esModuleInterop": true,
"lib": [ "ES2020", "DOM" ],
"module": "ES2020",
"target": "ES2020",
"experimentalDecorators": true,
"importHelpers": true,
"jsx": "react",
"jsxFactory": "tsx",
"allowJs": true,
"declaration": true,
"moduleResolution": "Node",
"noImplicitAny": true,
"noImplicitReturns": true,
"noUnusedLocals": true,
"noUnusedParameters": true,
"preserveConstEnums": true,
"resolveJsonModule": true,
"sourceMap": true,
"strict": true,
"suppressImplicitAnyIndexErrors": true
},
"include": [ "src" ],
"exclude": ["dist","node_modules"]
}
Configure rollup.js
The purpose of rollup.js is to create the build for us, which will take our TypeScript and compile it into JavaScript. There are a few configurations we need to provide to ensure we get something that works for us and ensures our tests run correctly.
In the /widget folder add a new file called rollup.config.js
Copy the following code into the new file.
import typescript from "rollup-plugin-typescript2";
import commonjs from "rollup-plugin-commonjs";
import external from "rollup-plugin-peer-deps-external";
import resolve from "rollup-plugin-node-resolve";
import pkg from "./package.json";
export default {
input: "src/widget.tsx",
inlineDynamicImports: true,
output: [
{
file: pkg.main,
format: "cjs",
exports: "named",
sourcemap: true
},
{
file: pkg.module,
format: "es",
exports: "named",
sourcemap: true
}
],
plugins: [
external(),
resolve(),
typescript({
rollupCommonJSResolveHack: true,
exclude: "**/__tests__/**",
clean: true
}),
commonjs({
include: ["node_modules/**"],
namedExports: {
"node_modules/react/react.js": [
"Children",
"Component",
"PropTypes",
"createElement"
],
"node_modules/react-dom/index.js": ["render"]
}
})
]
};
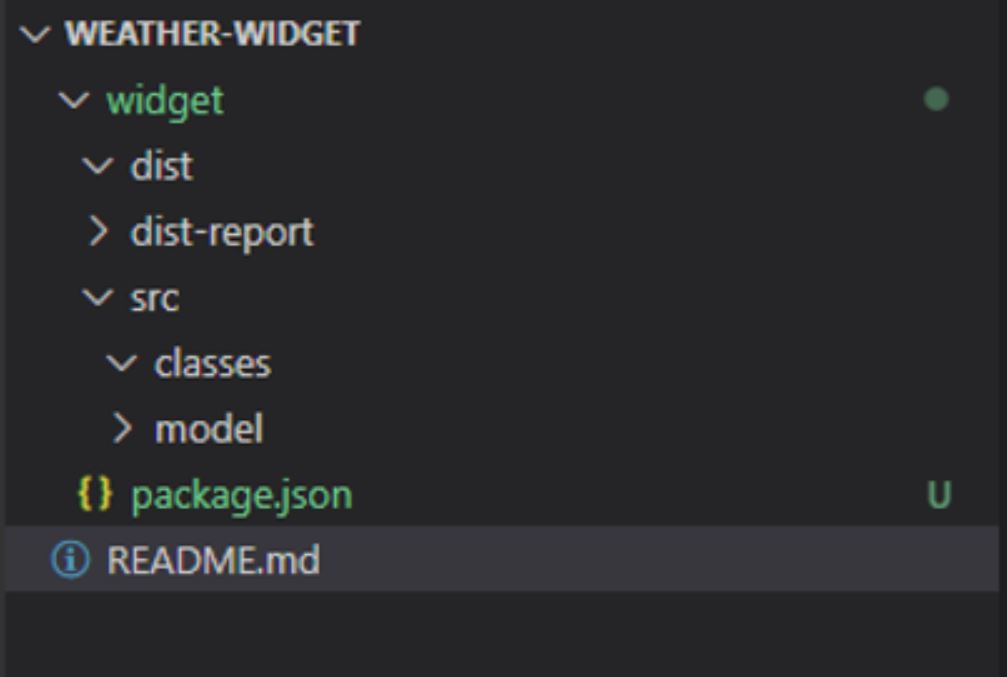
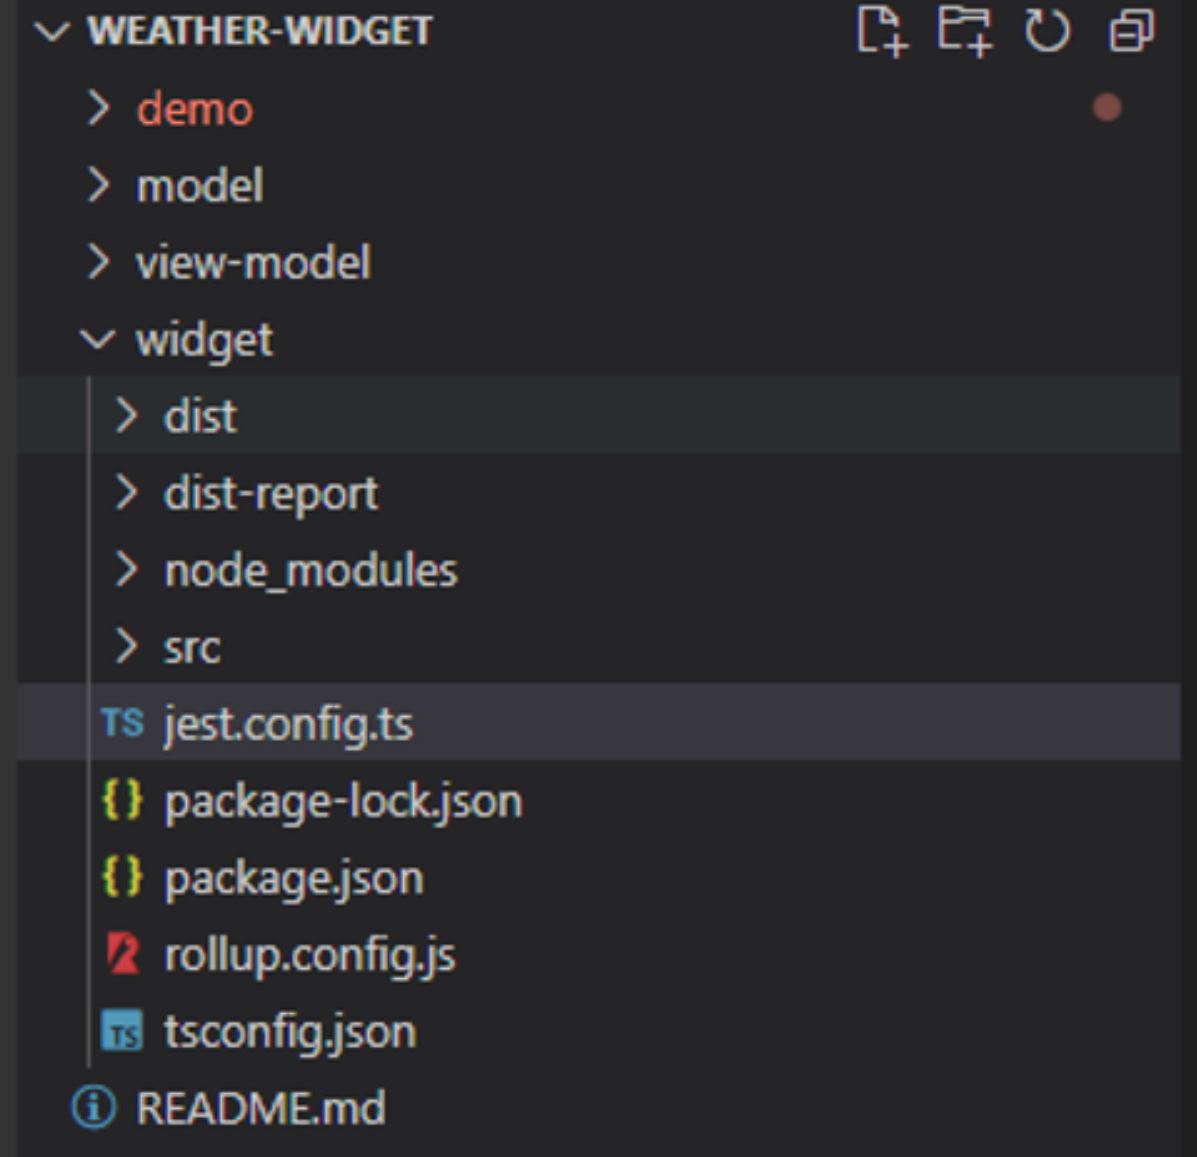
Your widget folder should now look like this.

There will be an error on the tsconfig.json file, but this is because the compiler has nothing to compile. So, let's add the files to the src folder to allow us to build our widget.
5: Scaffold the widget
The code presented here will let you build out a weather widget that will take the input coordinates from a MapView or SceneView and display the current weather. The function of the widget is not the important lesson. The main lesson is to understand how to create a custom Esri JSAPI widget.
Things to note.
· For a full explanation of how to create a custom widget, look at the Esri developer documentation.
· You must subclass the widget, without this the render method never gets called and nothing will refresh in your widget.
· The widget must extend the base widget class from @arcgis/core/widgets/Widget.js

· There are no frameworks used here, we are building a widget without anything like React/Vue/NextJS, etc. We use tsx to create the UI, but the TypeScript complier knows how to translate this into the correct UI for us (no React in involved).
· The only mandatory method you need to provide is a render () method. See the widget lifecycle for the other methods that are available.
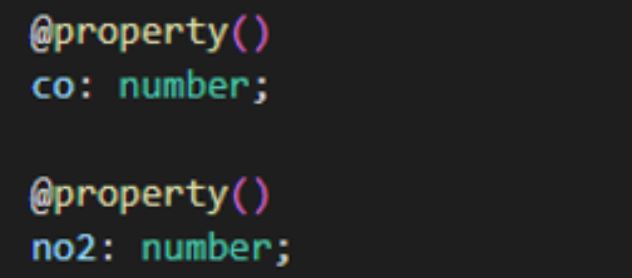
· Any class you create should extend from Accessor and use marked properties, this is so that they can be watched by the Esri framework. See more details here.

· It's a good idea to create interfaces for your TypeScript classes to allow for subtyping and inheritance.
· The goal is to understand how to build a widget in a standard way using a Model-View-ViewModel (MVVM) pattern.
The MVVM pattern means that as much as possible, we remove any logic out of our UI, and instead push that into the ViewModel which is responsible for providing/updating data back to the UI to be displayed. Any data we have is represented by the Model which is our representation of the data. This pattern has the added advantage that if a change to the UI is required, a user/developer can consume just the ViewModel and put their own UI on instead.
With this in mind, download the attached files which contain all the files for the widget itself below
Unzip the files and copy them into your project, it should be obvious where they go. When you are done, your project should look like this.
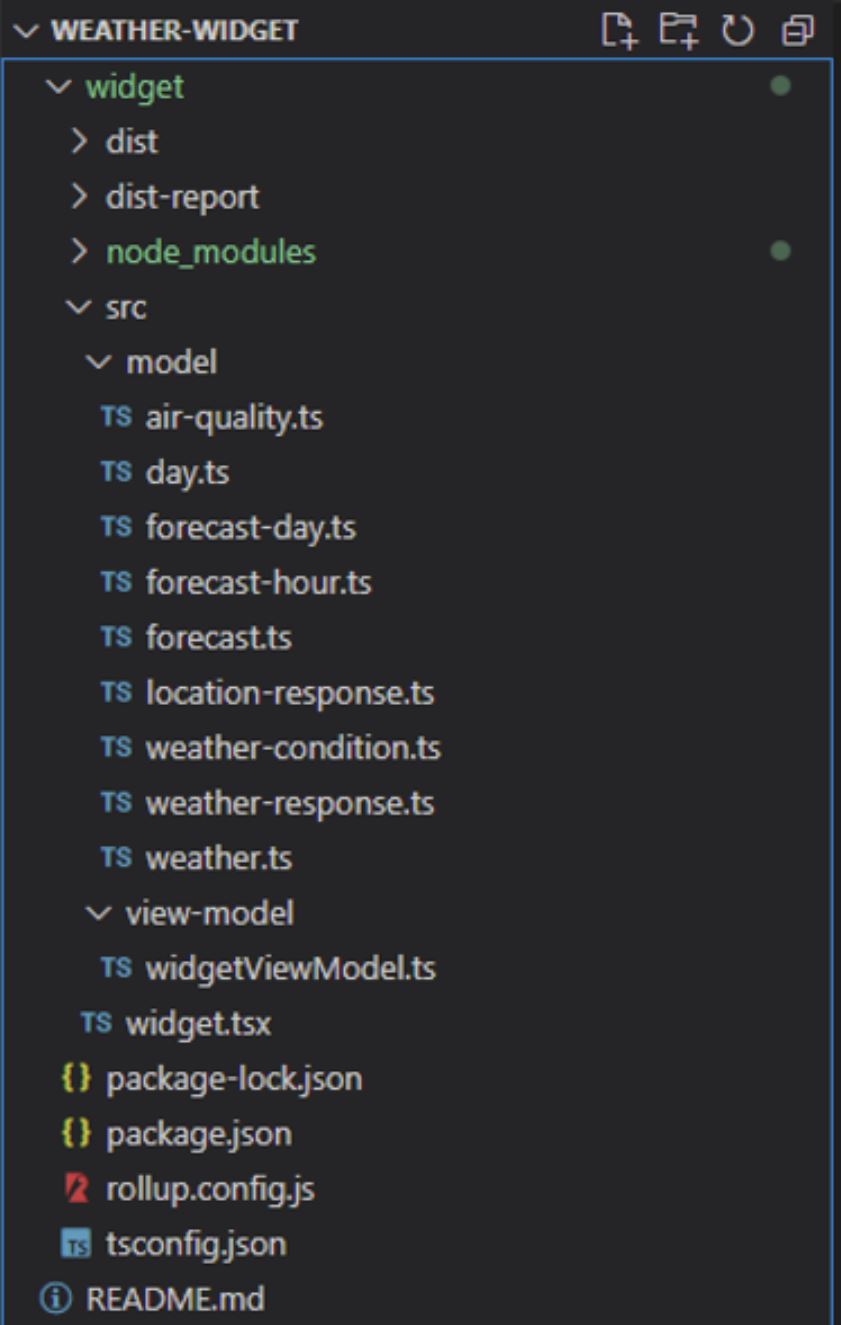
Model folder
The model folder contains a set of TypeScript files which are an implementation of the results we get back from the Weather API. These classes are used to hold the details, by creating the classes and creating the structure we can make use of the typing ability in TypeScript to ensure that we are not trying to access properties that don't exist, or we are using them in the wrong way, e.g., trying to perform a mathematical operation on a string.
View-Model folder
The view-model folder contains our view model, this is a core part of the code for the application, it makes the calls to the Weather API to get the current weather, parses the results and updates the other properties on the view-model.
widget.tsx
The widget.tsx is our view, this is an extension of the base widget class in the Esri JSAPI. It contains the lifecycle methods and is also responsible for instantiating the view-model.
6: Create the demo application
To debug our widget, we need an application to test it in. In this step, we will create a simple application that we can load our widget into. Using this, we can use the browser debugging tools to find and fix any issues with our widget.
To create the application, navigate to the root of the weather widget folder using a command prompt or terminal window.
Enter the following command
npm create vite@latest demo --template vanilla-ts
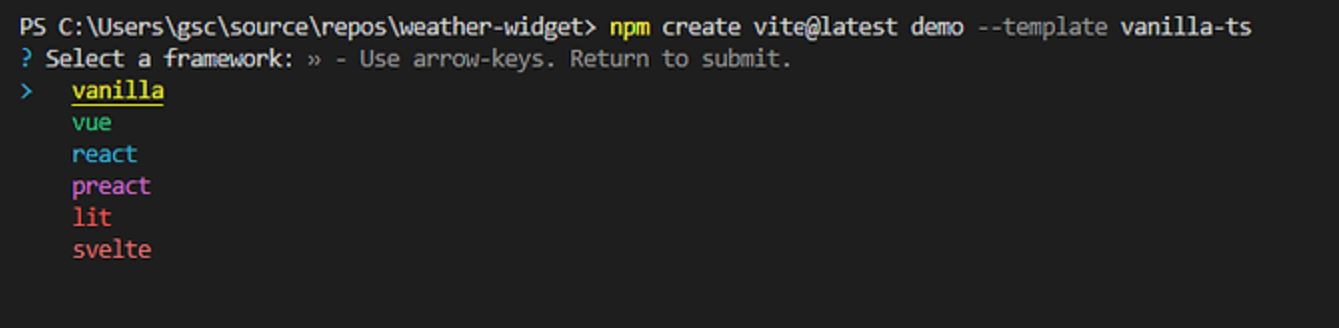
Select the vanilla option.
Then select the vanilla-ts option.

You should then see something like the one below.
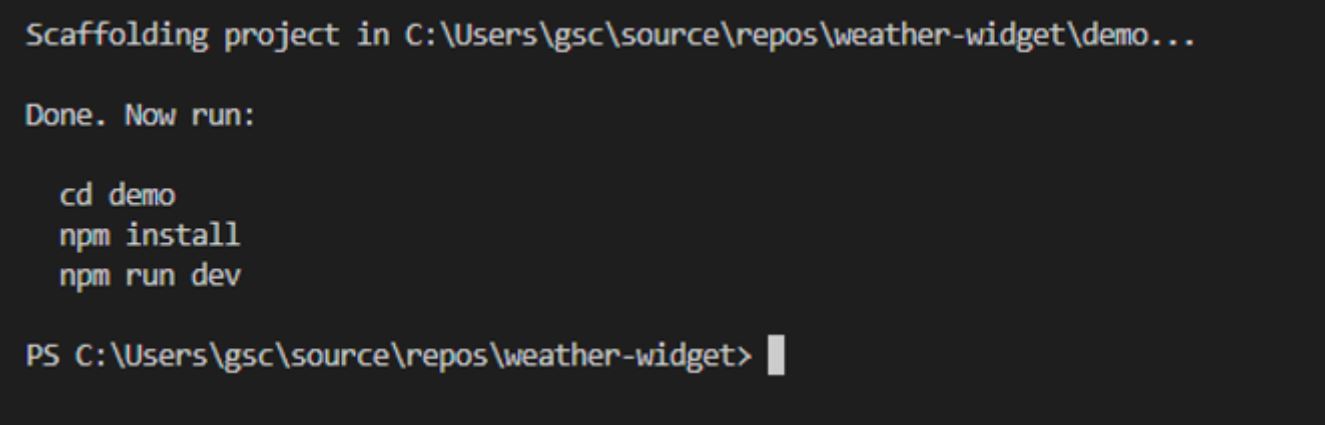
Next, follow the instructions and enter
cd demo
then
npm install
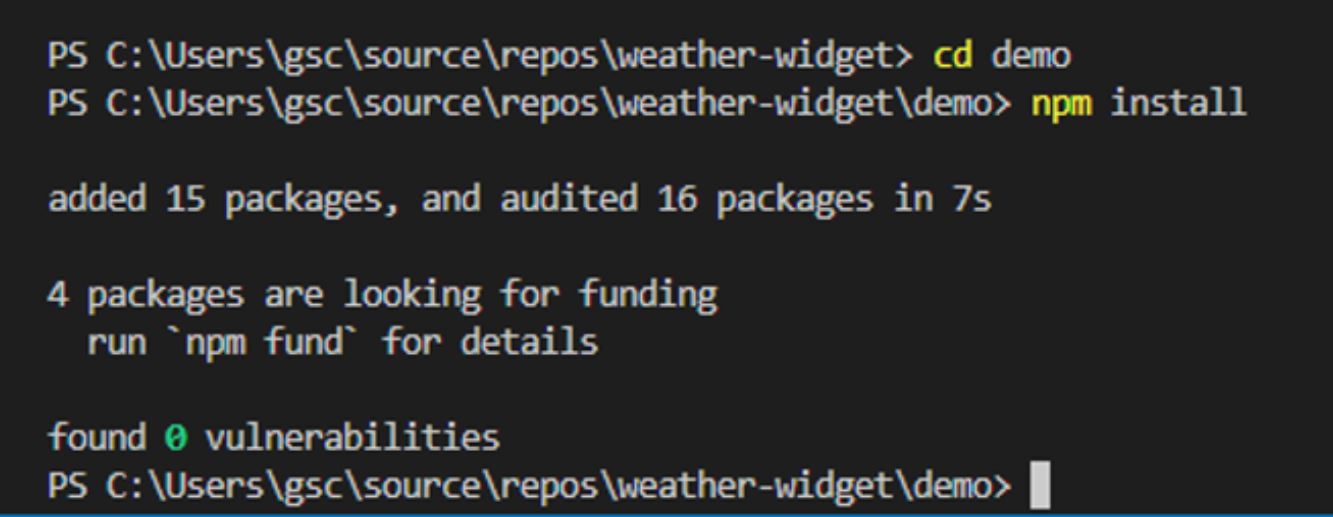
Now try
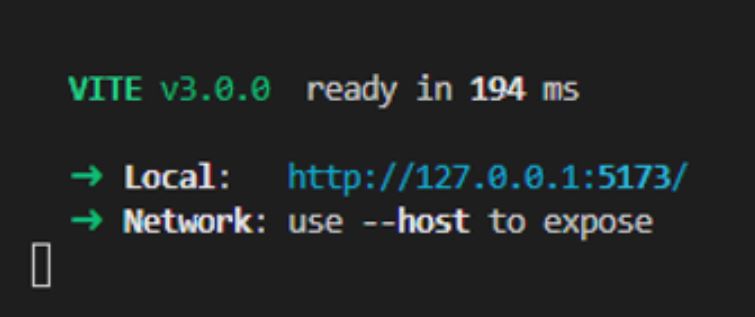
npm run dev
You should see something like this.
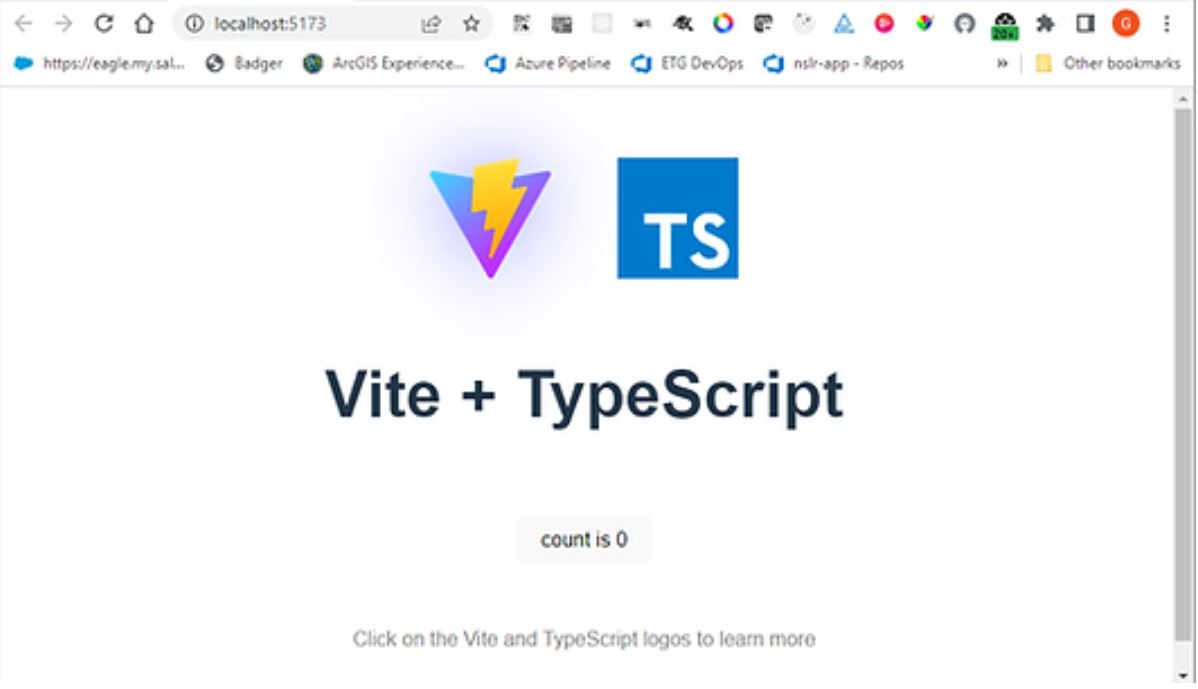
Open a browser at http://localhost:5173 , you should see the basic application.
We now need to update the demo application to allow us to debug our widget.
Open the index.html page under /demo and update the title to ArcGIS Demo Application.

Update the id of the div to viewDiv.

Open the demo/src folder and delete counter.ts.
Open the style.css file and replace the contents with the following:
@import 'https://js.arcgis.com/4.24/@arcgis/core/assets/esri/themes/light/main.css';
@import 'https://s3-us-west-1.amazonaws.com/patterns.esri.com/files/calcite-web/1.2.5/css/calcite-web.min.css';
#viewDiv {
padding: 0;
margin: 0;
height: 100vh;
width: 100vw;
}
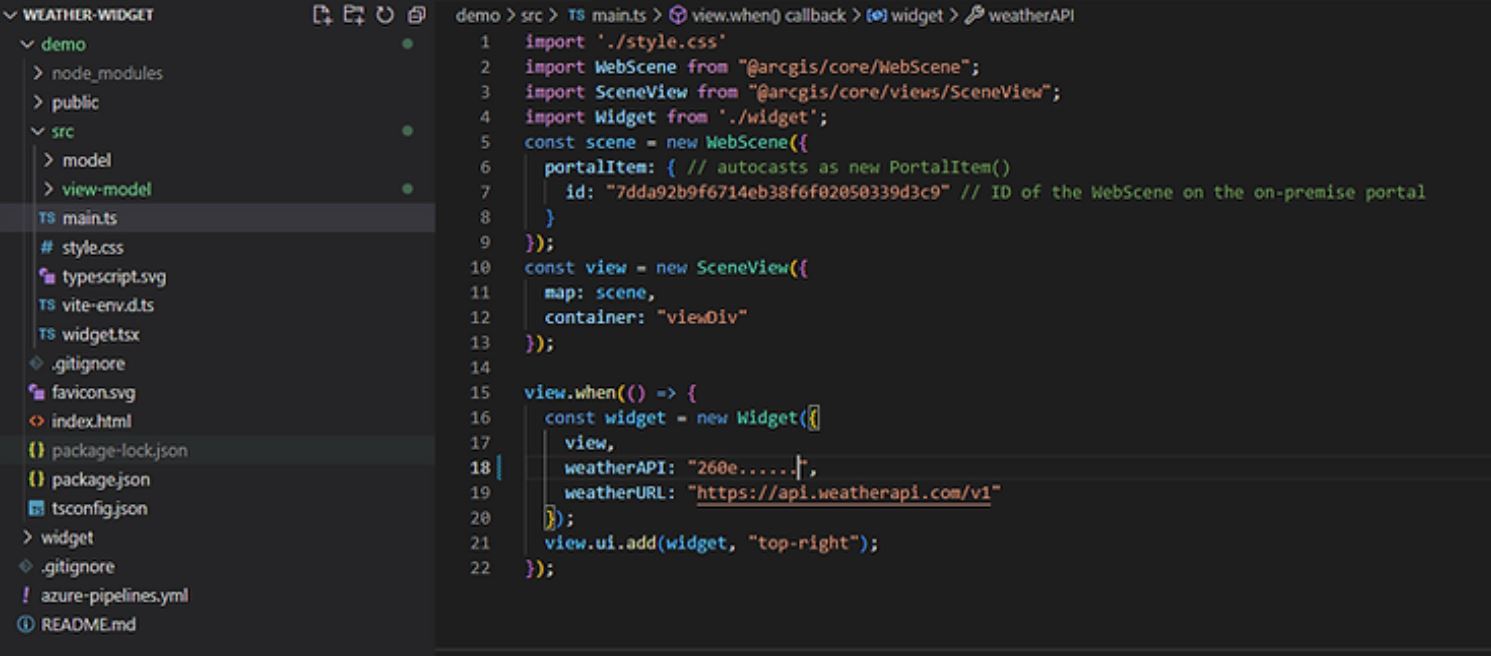
Next open main.ts and replace the contents with the following. Make sure you add in your API Key from WeatherAPI.com
import './style.css'
import WebScene from "@arcgis/core/WebScene";
import SceneView from "@arcgis/core/views/SceneView";
import Widget from './widget';
const scene = new WebScene({
portalItem: {
id: "7dda92b9f6714eb38f6f02050339d3c9"
}
});
const view = new SceneView({
map: scene,
container: "viewDiv"
});
view.when(() => {
const widget = new Widget({
view,
weatherAPI: "<ENTER YOUR API KEY HERE>",
weatherURL: "https://api.weatherapi.com/v1"
});
view.ui.add(widget, "top-right");
});
The code above imports our dependencies ,creates a new WebScene from an item in ArcGIS Online, then adds it to a new SceneView. When the SceneView is ready we add in our weather widget.
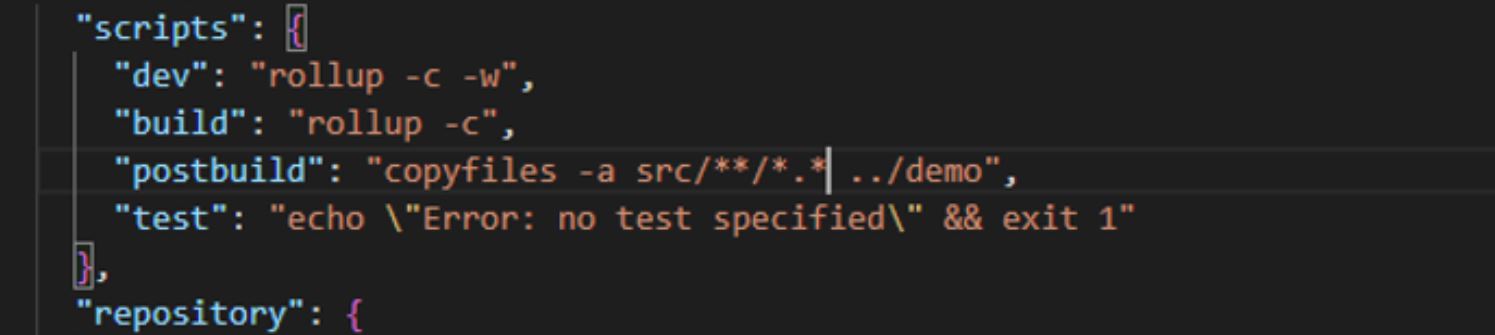
Next, we want to pull in our widget files into the demo application, to make this simpler we can use npm to copy the files across for ius. To do this, open the package.json file in the widget folder and find the scripts section.

Add in the following to the section.
"dev": "rollup -c -w",
"build": "rollup -c",
"postbuild": "copyfiles -a src/**/*.* ../demo"
The dev script creates a watch that will build the files we have any time that we do a commit. The build script will run a build, while the postbuild will run once the build script has run. The postbuild will copy the files from our /src folder into the demo folder where the demo application can pick them up.
Run the below command to test the build and copy process.
run npm build
The TypeScript complier will complain at this stage about the widget import. To fix this, open the tsconfig.json file in the demo folder and add in the following options to the complier options.
"jsx": "react",
"jsxFactory": "tsx",
Within a console cd back to the demo folder and try:
npm run dev.

You should now be able to open a browser and see a web scene loaded and the widget up in the top right corner.
7: Add in testing with Jest
Now we have our weather widget up and running, we want to make sure that we keep it running, and that when we write new code, we don't introduce new issues. This is where unit testing can help us.
Jest is a test library we can use to write tests against our code. We will need to configure our project to work with it first.
Open the package.json file and update the test command to the following
"test": "node --experimental-vm-modules node_modules/jest/bin/jest.js"

Add a new file called jest.config.ts to the root of the widget folder and add in the following.
/** @type {import('ts-jest/dist/types').InitialOptionsTsJest} */
export default {
preset: 'ts-jest',
moduleFileExtensions: [
"ts",
"tsx",
"js",
"jsx"
],
testEnvironment: 'node',
testMatch: ['<rootDir>/**/*.test.ts'],
testPathIgnorePatterns: ['/node_modules/'],
collectCoverage: true,
coverageDirectory: "<rootDir>/dist-report",
coverageReporters: ["json", "html", "cobertura", "lcov"],
reporters: [
"default",
[
"jest-junit",
{
outputDirectory: "dist-report",
outputName: "ut-report.xml"
}
]
],
coveragePathIgnorePatterns: ['node_modules', 'dist'],
globals: { 'ts-jest': { diagnostics: false } },
transform: {},
};
The above code tells jest that we are using TypeScript, to scan the folders for any files with .test.ts in the file name, and that we want to create a code coverage file and we want to report with JUnit.
Open a command prompt and try running
npm run test
You should see something like the following.
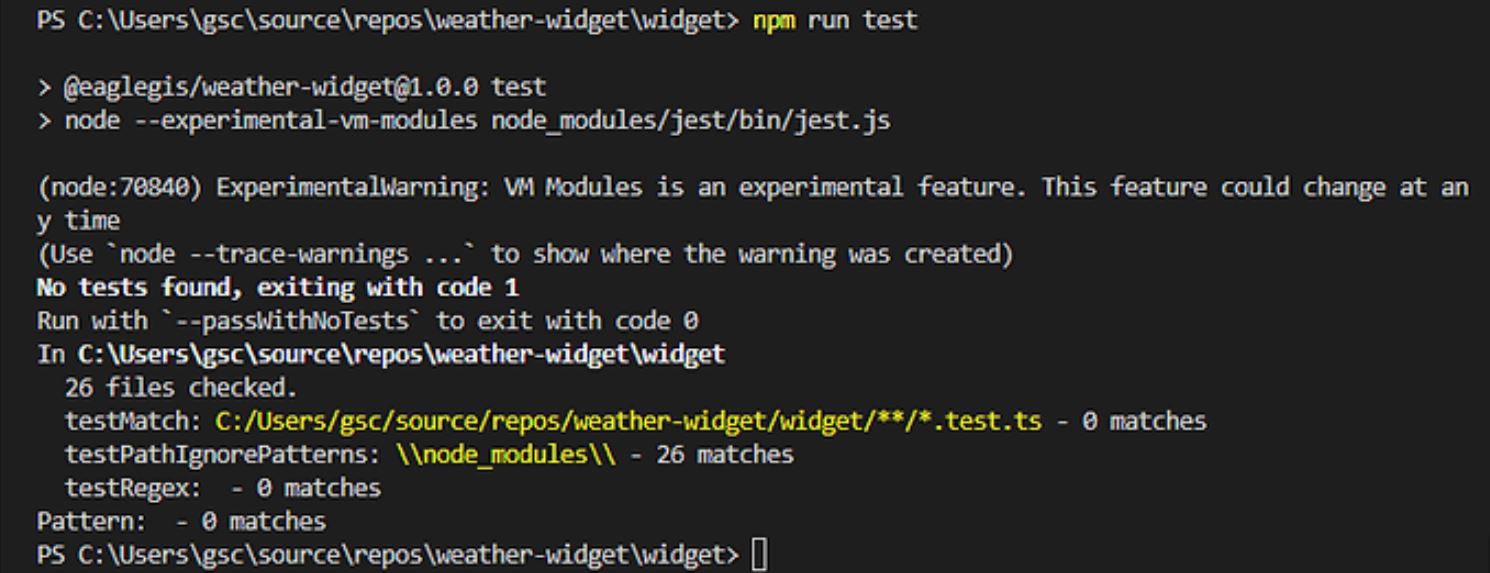
Jest is running, but we have no tests, download the below zip, extract the file, and place it in the view-model folder widgetViewModel.test.zip
Try running npm run test again, you will hopefully see something like the below.

If you check the dist-report folder, you should now see it full of content from our test run.
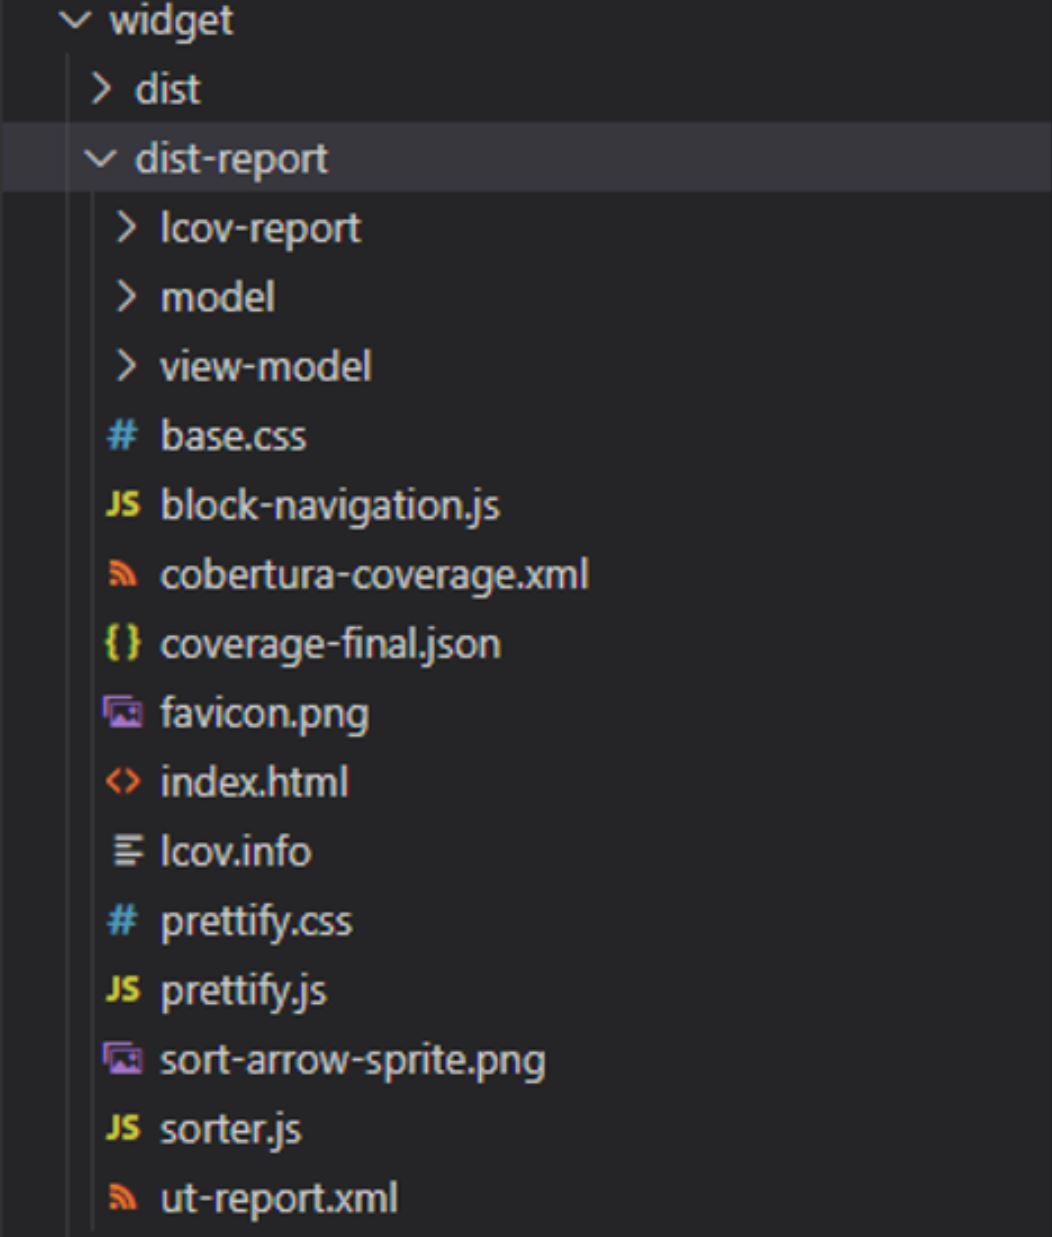
If you right-click on the index.html file and click preview, you can see the code coverage. You can also drill down into this to see where you may be missing lines of code in your tests.
8: Create the build pipeline
Now that we have a project with our widget and with tests to ensure that we can keep our code quality up, we need to be able to share it with other people, this can be either with people in our organisation or publicly.
The first step in achieving this, is creating a build pipeline. This is a pipeline that will be triggered anytime we push our code from our local machine back into our source control in Azure DevOps.
We can do this all within DevOps which allows us to build up the pipeline using the editor.
Within DevOps open the repository and click the button Setup Build in the top right of the page.
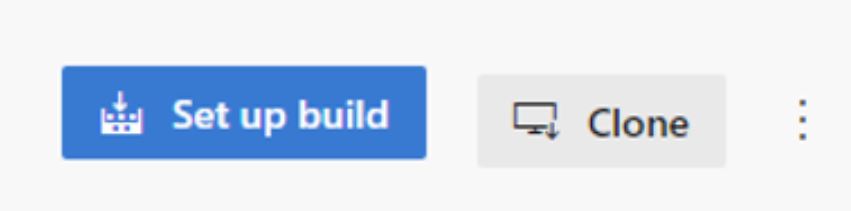
This will open the pipeline editor, select Starter Pipeline from the options presented.
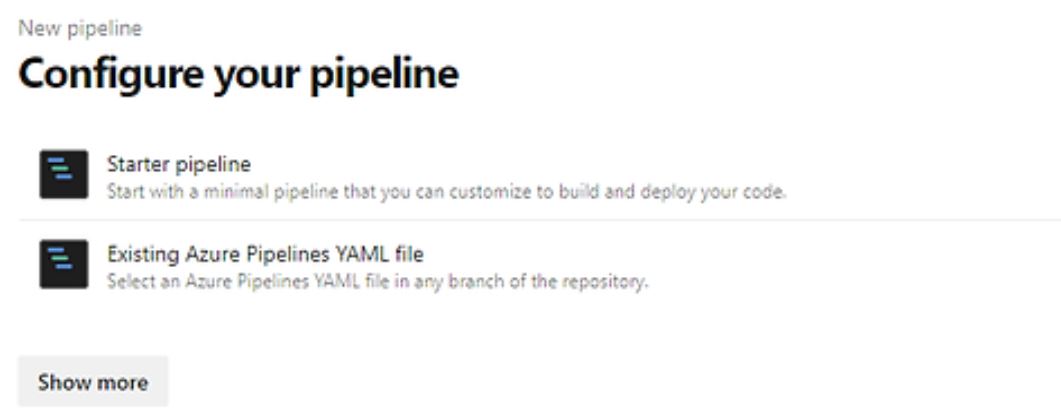
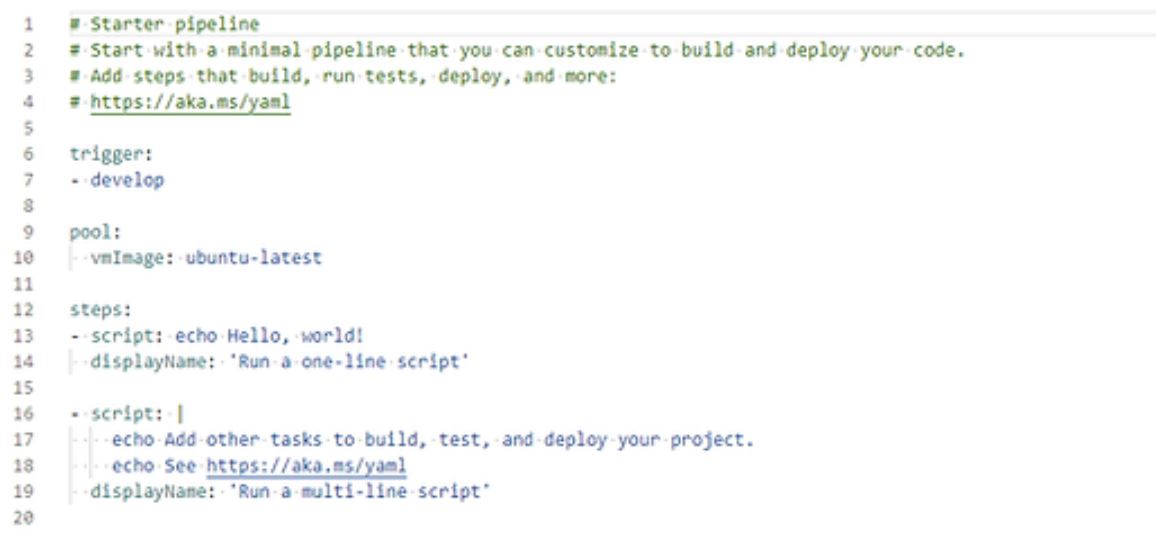
You will now see a starter pipeline with some hello world code.
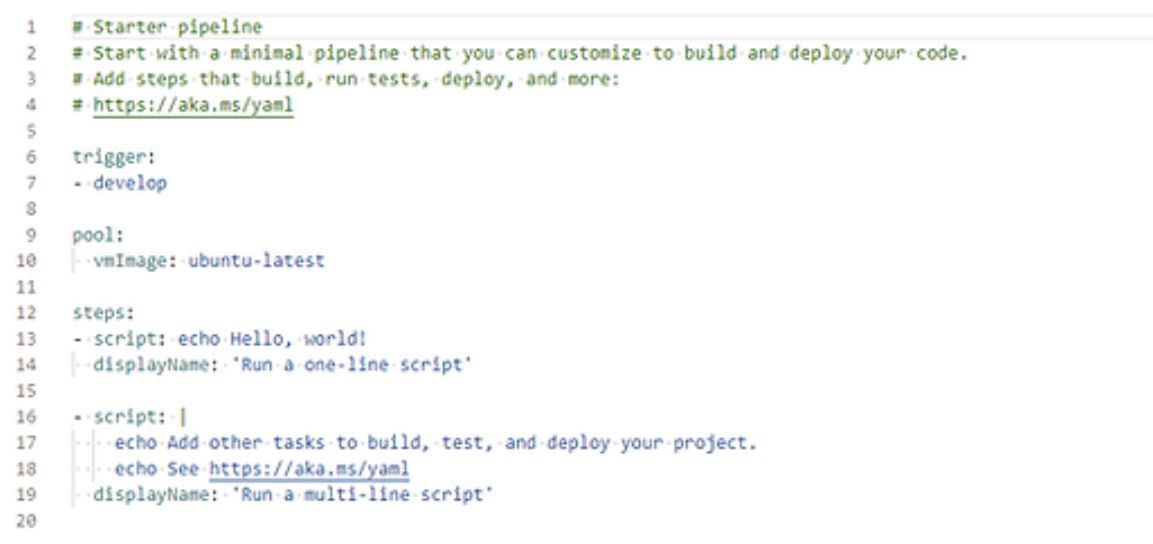
Remove all code from line 13 down.
On the right-hand side, you will see the Show Assistant button, click that as it will help us insert code snippets for us.

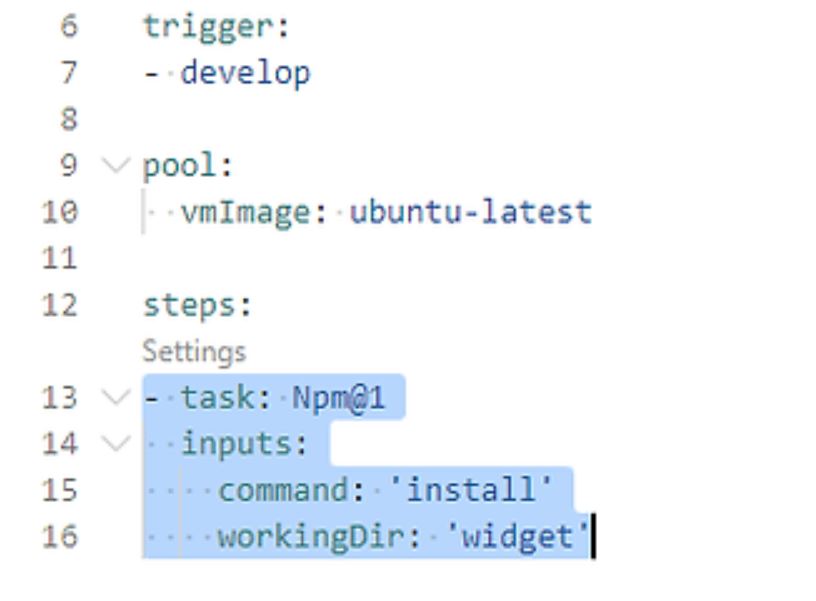
Place the cursor on line 13 and then within the assistant window, search for the npm task and click on it.
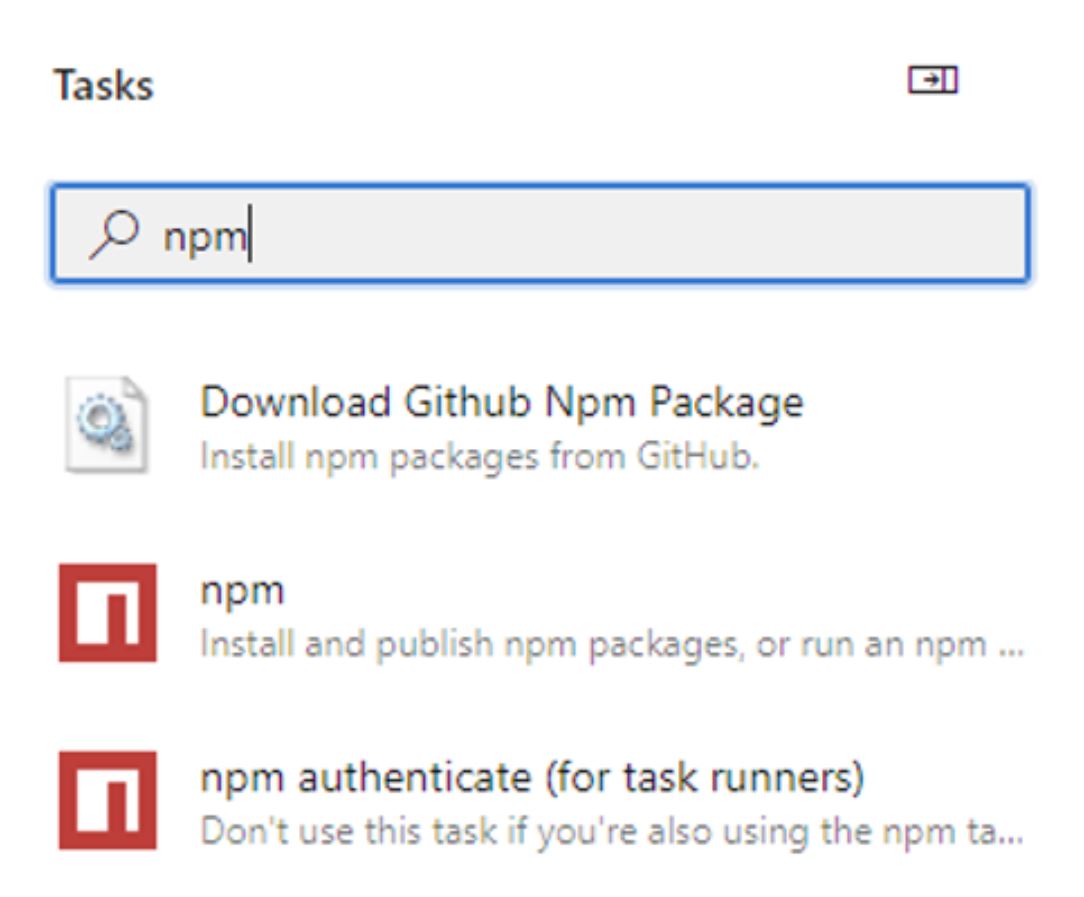
In the dialog that shows, keep install in the command window, update the below section to widget. This tells that command that folder in our source code that we want to run the command in is the widget folder.
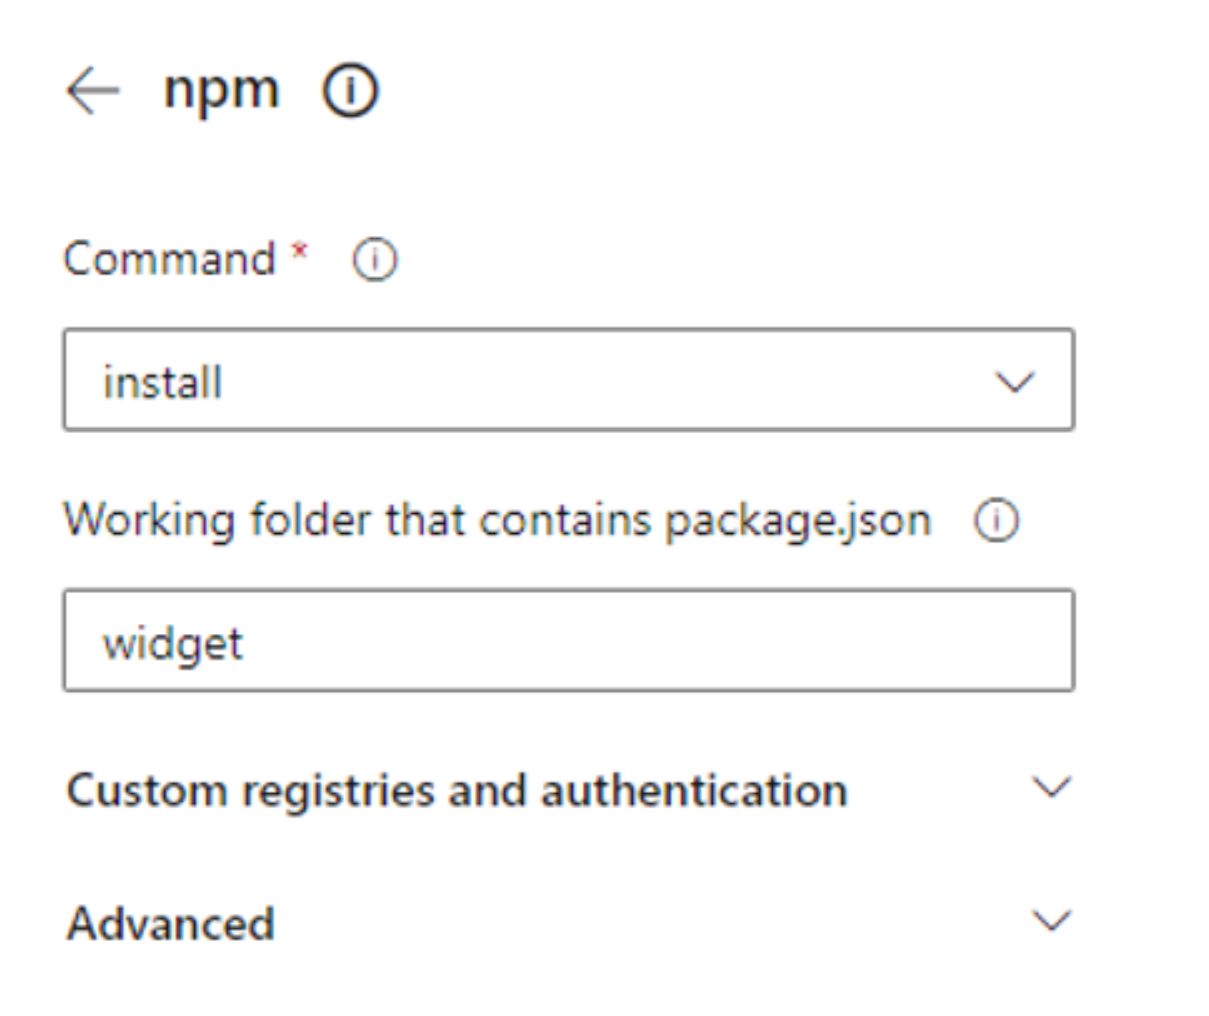
Click Add at the bottom of the dialog to add this to our pipeline.
The npm task will install the dependencies we need to build the widget within the DevOps pipeline.
The next step we want to do is run our tests, so that each time we check in the code, we are running our tests to ensure that they are still passing.
Again, search in the assistant window for command line. and click on the Command line task to configure it.

In the Script section, add in the following code npm run test, click the advanced section, and add in widget to the working directory.
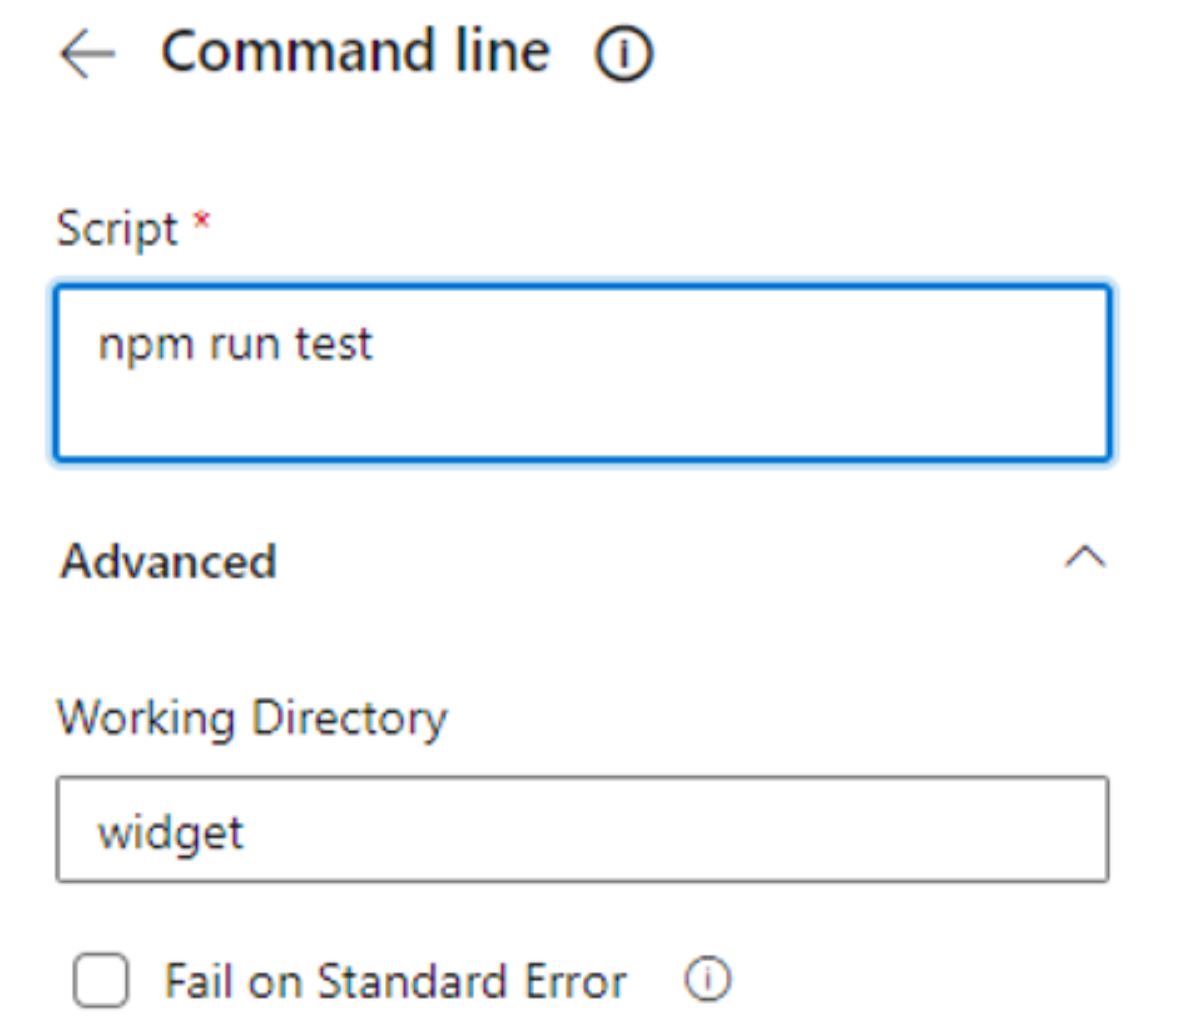
The above will run our tests and produce the outputs. We now want to do something with those outputs, such as publishing them to our pipeline so we can keep track of our code quality.
Again, in the assistant window, search for publish test.
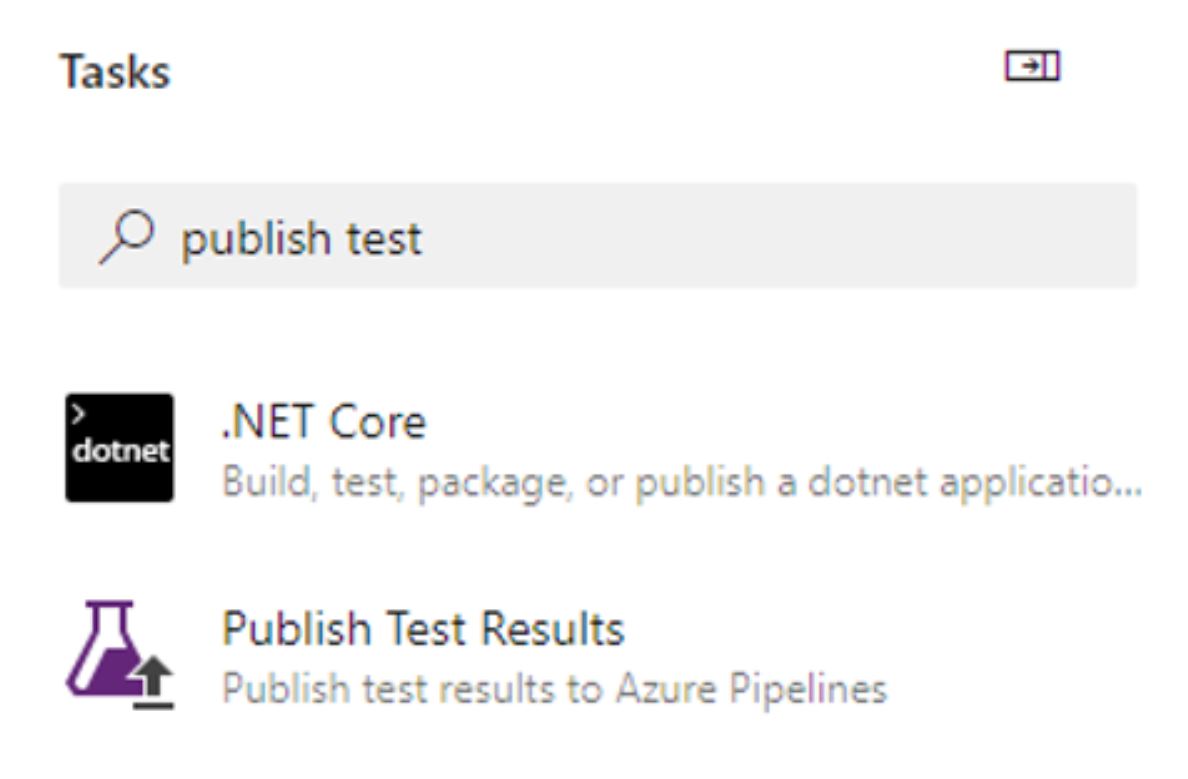
Select the Publish Test Results
Configure the task as follows.
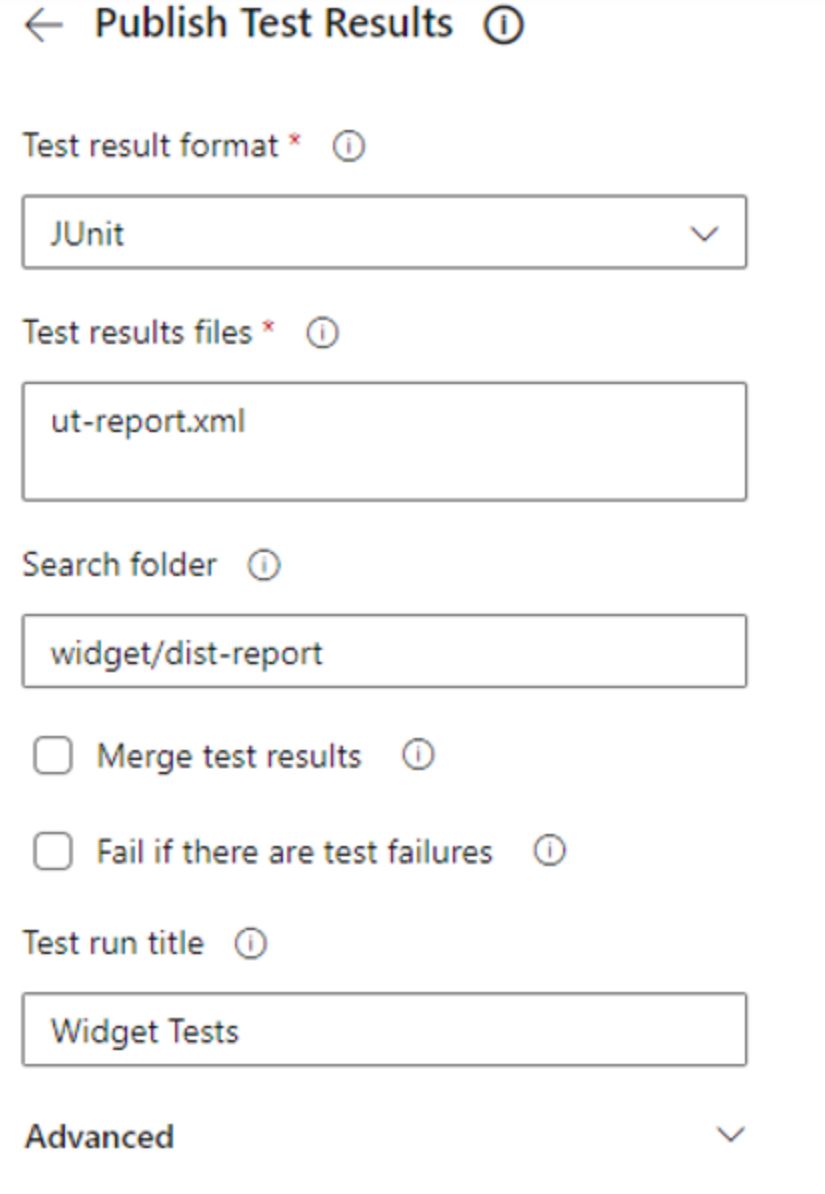
This will publish the results of the test run to Azure DevOps.
We also want to report our test line coverage as well. To do that we need another publish task. In the assistant search for coverage and select the Publish code coverage results task.

Configure the task as follows. This will get the coverage file created by our test run and publish to Azure Devops.
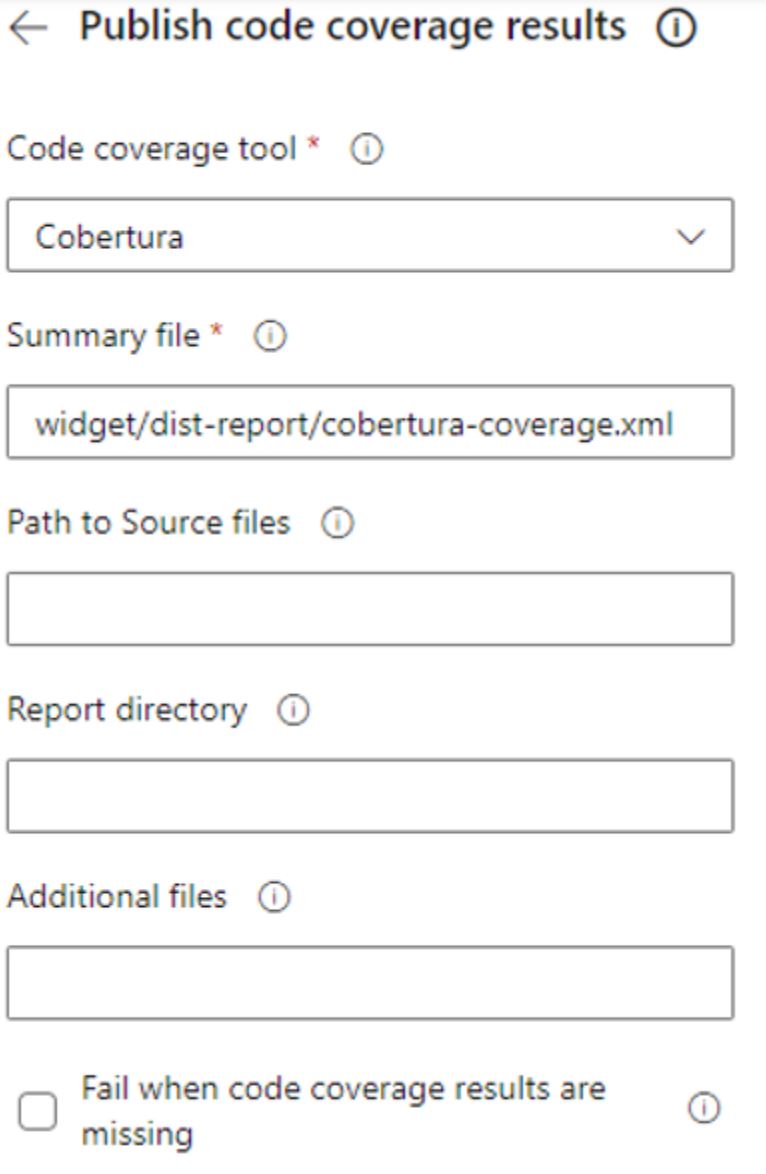
We specify where that file is within our folder structure. The file and type were configured as part of our jest.config.ts file.

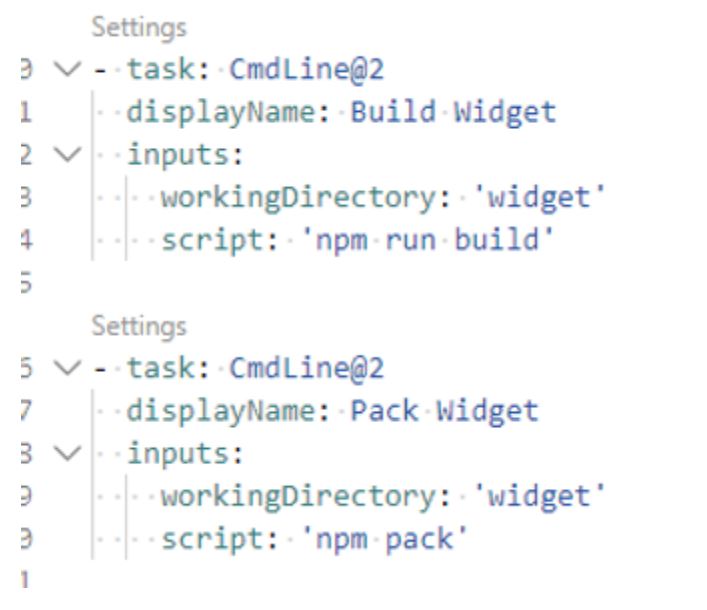
Now we have completed all our tests, the next thing that we want to do is build and pack our widget in preparation for publishing it to npm.
Add in two more command line tasks, the first one is to run our build script.
npm run build.
The second one should use:
npm pack
This is a special command from npm which will pack our build output so it can be published to npm. When creating the tasks, ensure the working directory is set to widget. Your resulting code should look like this.
The pack command creates an archive file of our build for us, we now want to make that available to the DevOps release pipelines, to do this we need to first copy the files to a staging directory, and then publish the artifcate.
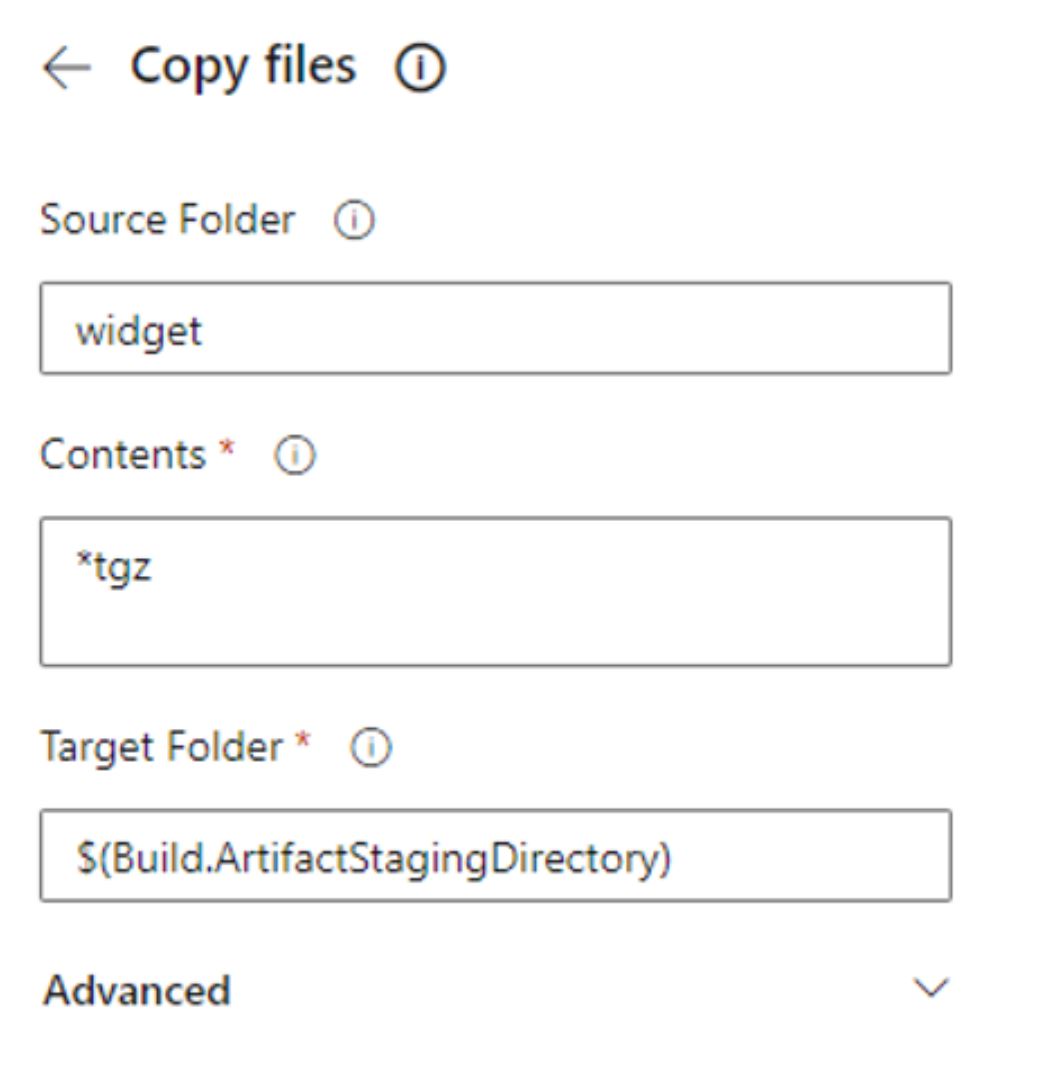
In the task assistant, search for copy files and select the basic Copy files task (second in the list below).
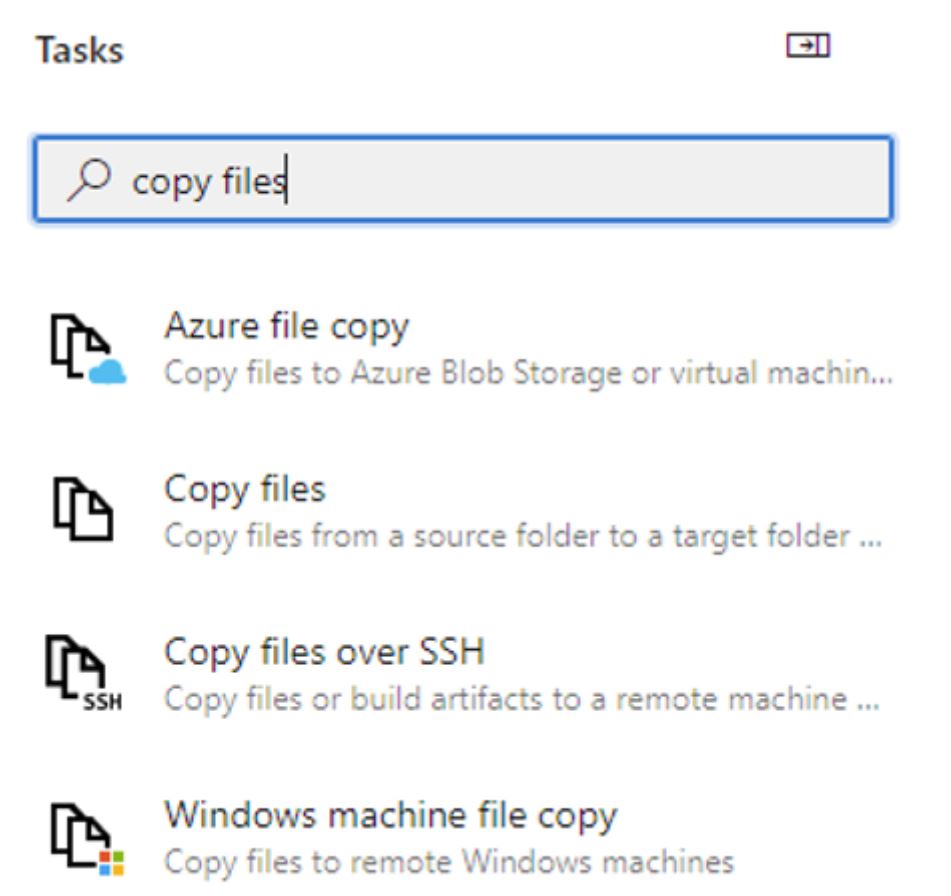
Configure the task with the following settings. The contents, tells the task to look for any files with the .tgz extension, and the target folder we have specified is a special directory created as part of our build pipeline.
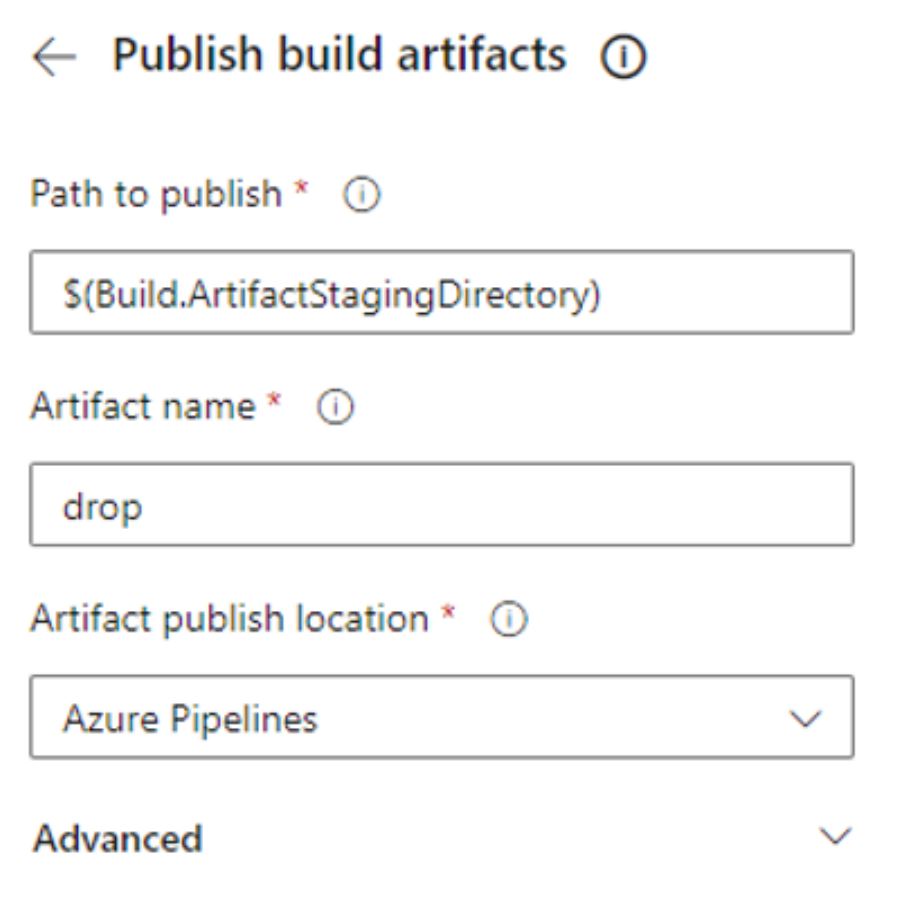
The final task we need to do, is publish this archive from the artifact to Azure Pipelines where we can use it in release pipelines. Search for publish build and select the Publish build artifacts task.
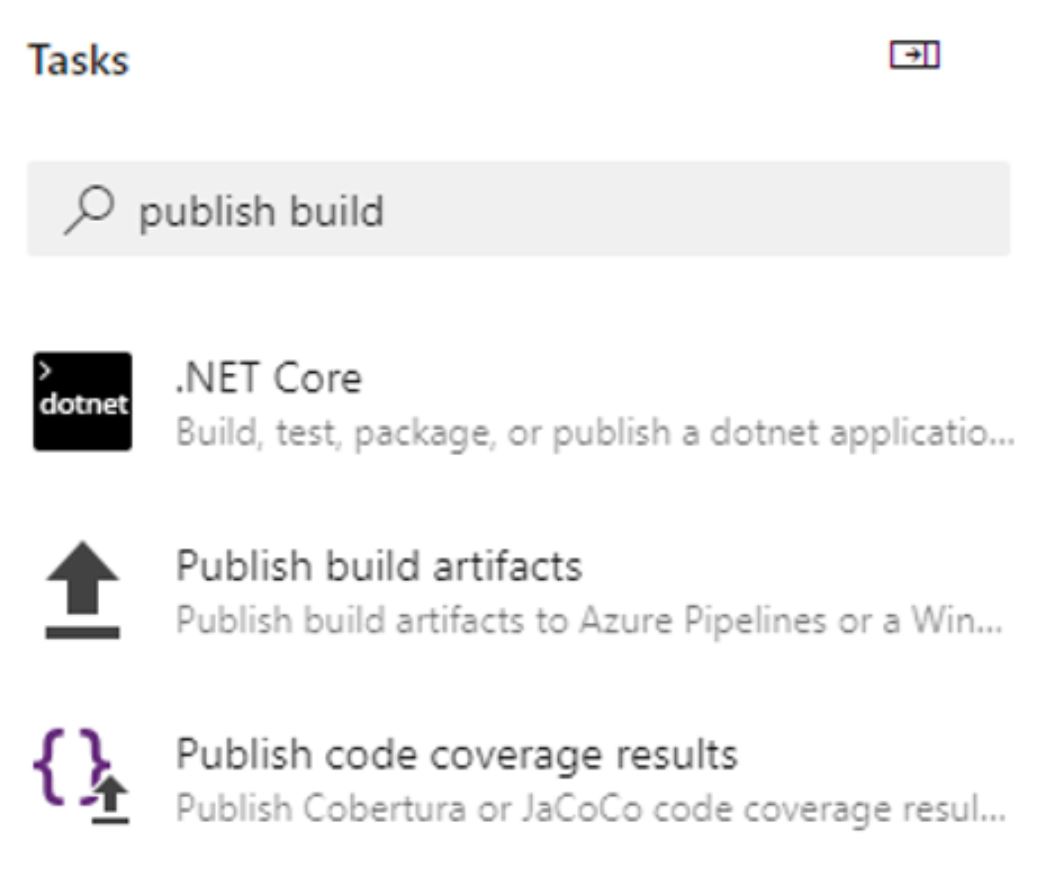
You can accept the defaults and add the task.
The completed yml should look like the below.
# Starter pipeline
# Start with a minimal pipeline that you can customize to build and deploy your code.
# Add steps that build, run tests, deploy, and more:
# https://aka.ms/yaml
trigger:
- master
pool:
vmImage: ubuntu-latest
steps:
- task: Npm@1
displayName: Install NPM
inputs:
command: 'install'
workingDir: 'widget'
verbose: true
- task: CmdLine@2
displayName: Run tests
inputs:
workingDirectory: 'widget'
script: 'npm run test'
- task: PublishCodeCoverageResults@1
inputs:
codeCoverageTool: 'Cobertura'
summaryFileLocation: 'widget/dist-report/cobertura-coverage.xml'
- task: PublishTestResults@2
inputs:
testResultsFormat: 'JUnit'
testResultsFiles: 'ut-report.xml'
searchFolder: 'widget/dist-report'
testRunTitle: 'Widget Tests'
- task: CmdLine@2
displayName: Build Widget
inputs:
workingDirectory: 'widget'
script: 'npm run build'
- task: CmdLine@2
displayName: Pack Widget
inputs:
workingDirectory: 'widget'
script: 'npm pack'
- task: CopyFiles@2
inputs:
SourceFolder: 'widget'
Contents: '*.tgz'
TargetFolder: '$(Build.ArtifactStagingDirectory)'
- task: PublishBuildArtifacts@1
inputs:
PathtoPublish: '$(Build.ArtifactStagingDirectory)'
ArtifactName: 'drop'
publishLocation: 'Container'
We are now done. Anytime we check the code into the repository, the above will run, complete our tests, and create a build for us. The next step is to take the artifact that we have created and publish it through a release pipeline to npm.
9: Create the release pipeline
The final step in our custom widget development is to publish the output to npm. To do this, you will need a npm account. In the example below, we are publishing to a public npm package, you can also publish to a private package with the same steps. You do not necessarily need to do this, however, one of the goals of this process is to demonstrate the workflow that is most useful for people in organisations creating code that they may not necessarily want to share with everyone.
Note, before publishing to npm you will have to bump your version number in the package.json, you cannot simply overwrite an existing version.
For more details on creating a npm account see here. For details on creating an organisation, see the details here.
If you have the above, the next item you will need is an auth token to allow you to read and write. We need this token to authenticate when we publish the item to npm. Be careful with these tokens as they should not be shared publicly.
Follow the details here to create a token. Once you have the token, we will place it in a variable library where we can keep it secret and make it available to any pipeline we create in DevOps. To do that, go to the Pipelines section and select Library.

Once the page opens, create a new variable group, by clicking on the below button.

Give the group a meaningful name, and then move down to the Variables section and add a new variable called npm_token. Paste your npm token you created previously, and then click the lock button to hide the details.
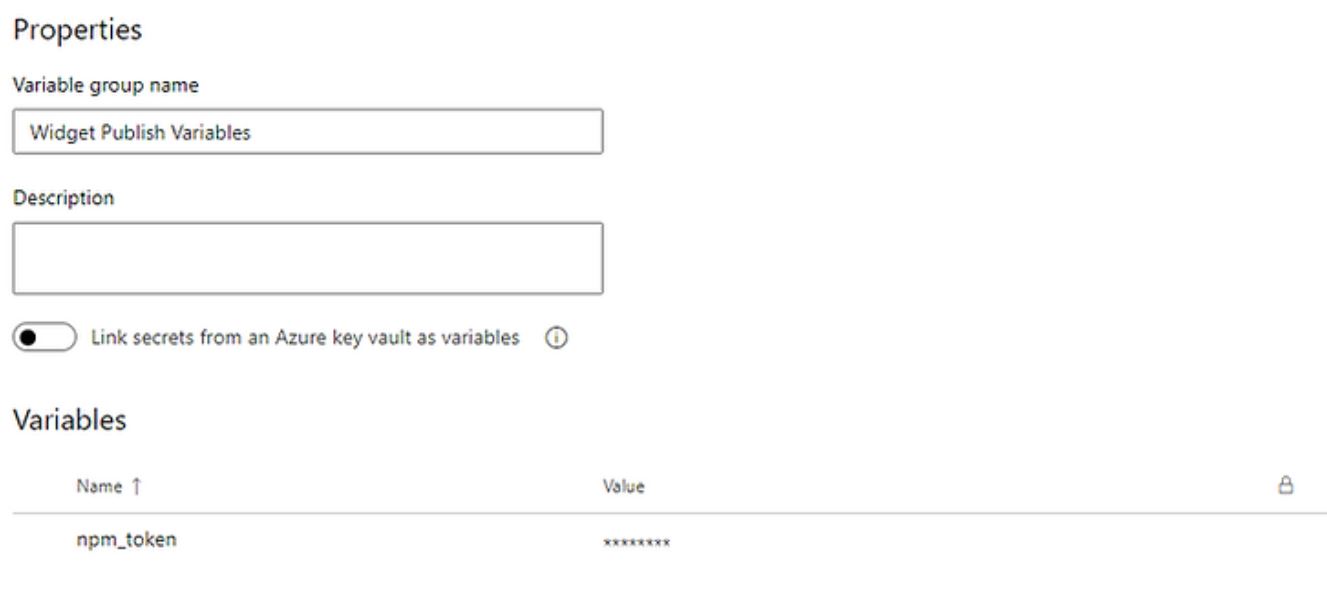
The token is now stored securely within DevOps, no one can read it, but we can make it available to all our pipelines.
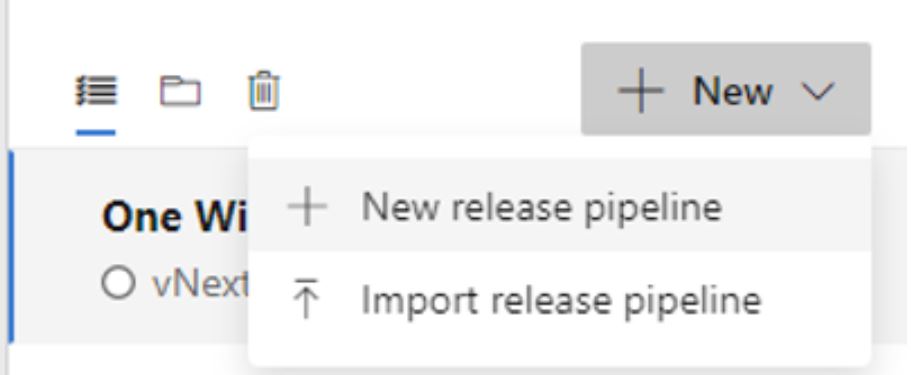
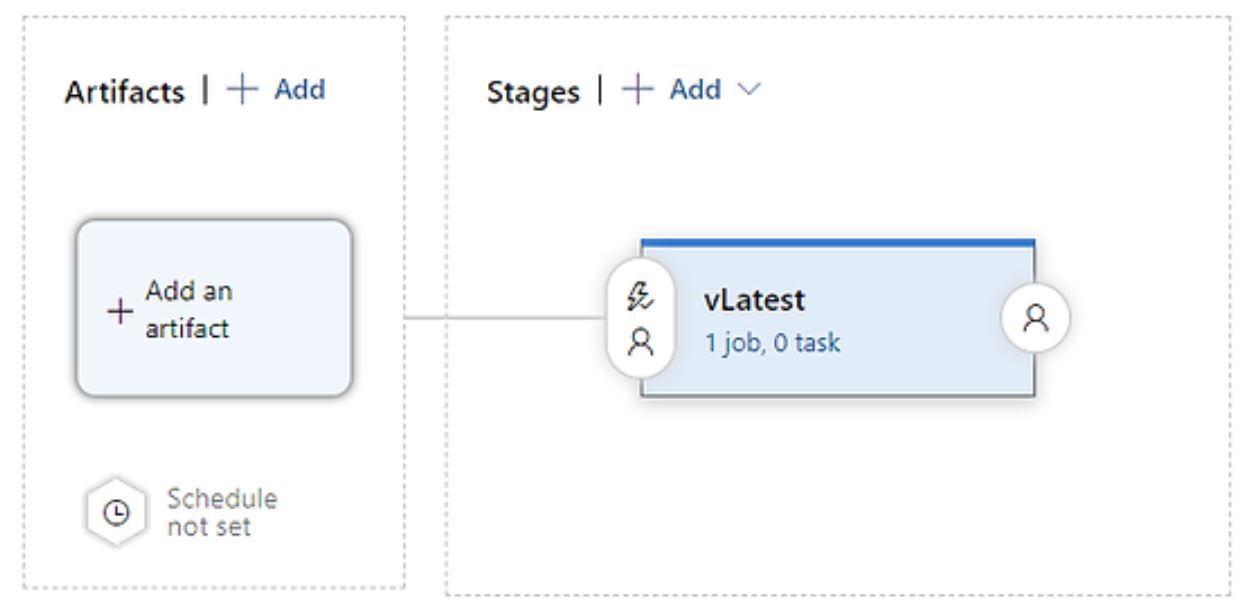
Now we have our variable, let's go and create our Release pipeline. Under the Pipelines section, select Releases, click New -> New release pipeline.
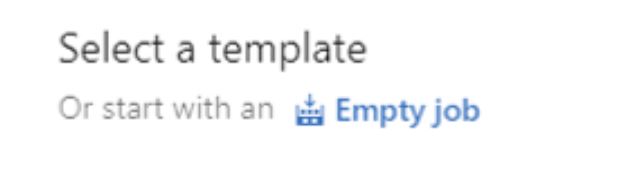
Select the Empty job template.
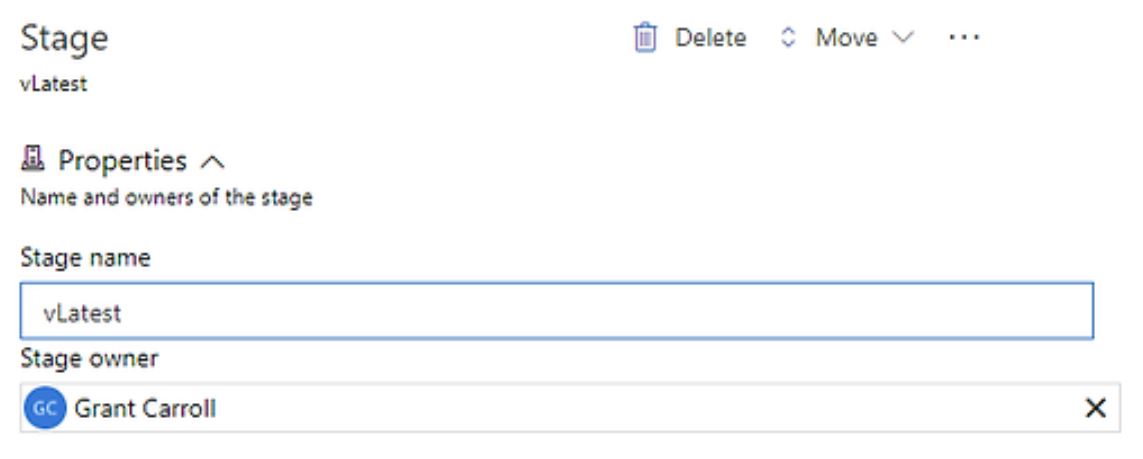
Name the stage vLatest.
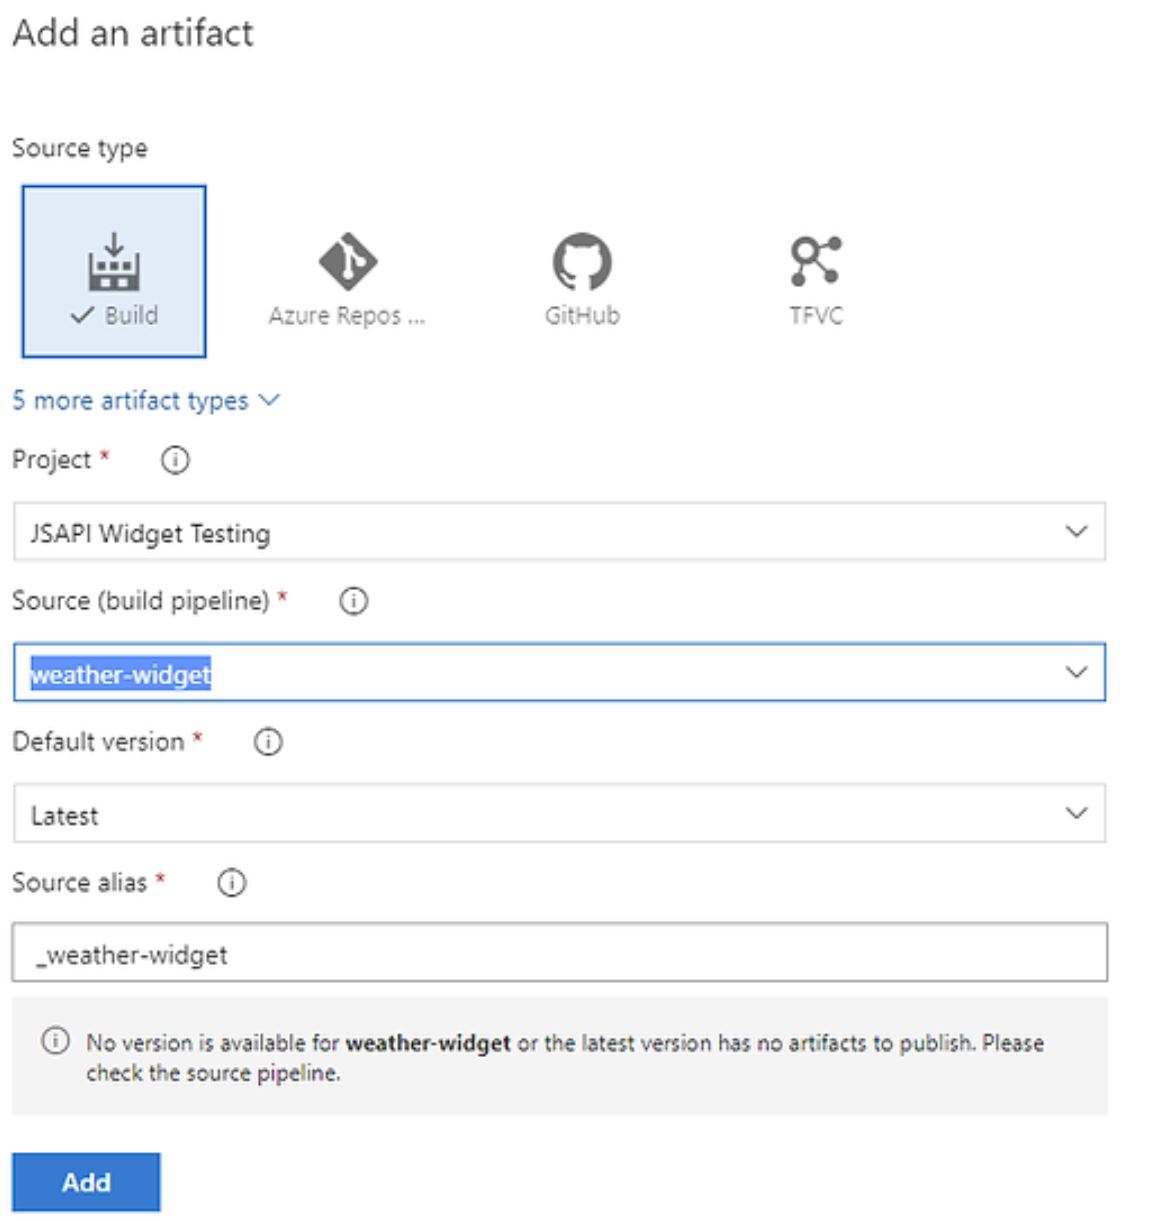
We need to add in our outputs from our build pipeline to this, so select the Add artifact in the view.
Configure the settings as follows (using your details).
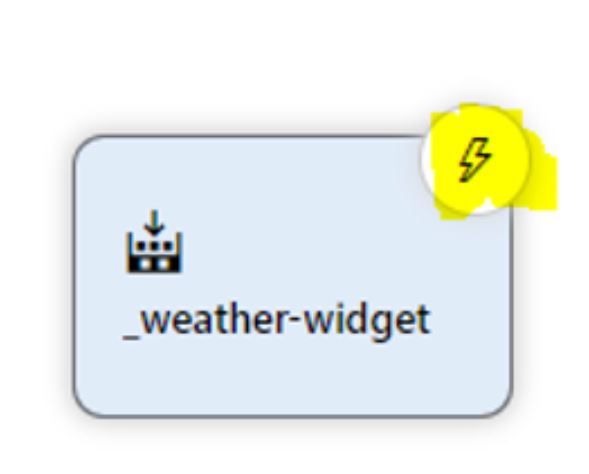
We would like the release to be triggered as soon as a new artifact becomes available, so to do this, click on the lightning bolt next to our artifact.
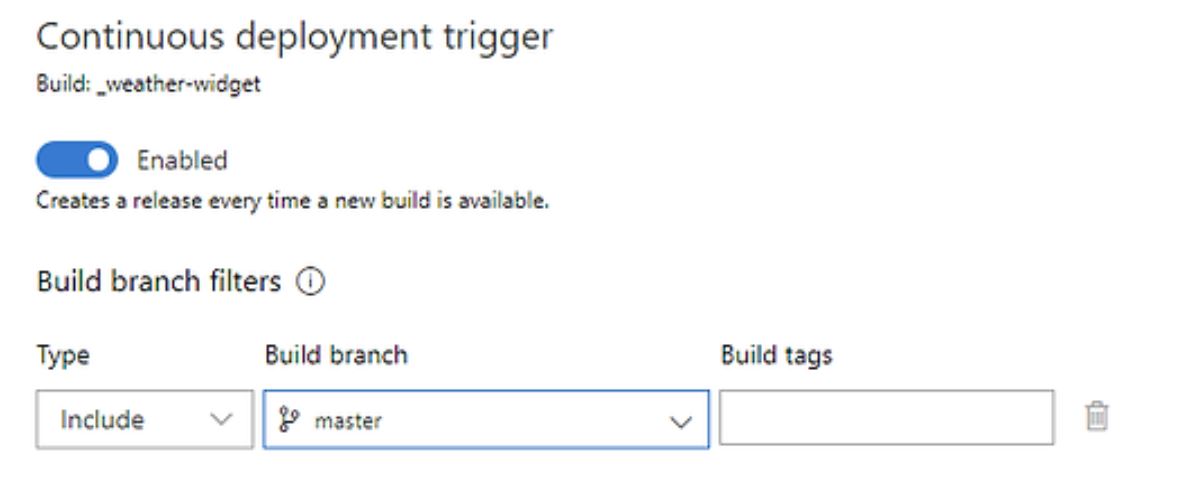
Enable the Continuous deployment trigger and configure as below. Now whenever we complete a build in our master branch, the release pipeline will be triggered.
At the moment, our Stage does nothing, so we will want to configure that next. First, we need to tell the release pipeline about our npm token we created. To do that, click on the Variables tab at the top of the screen.
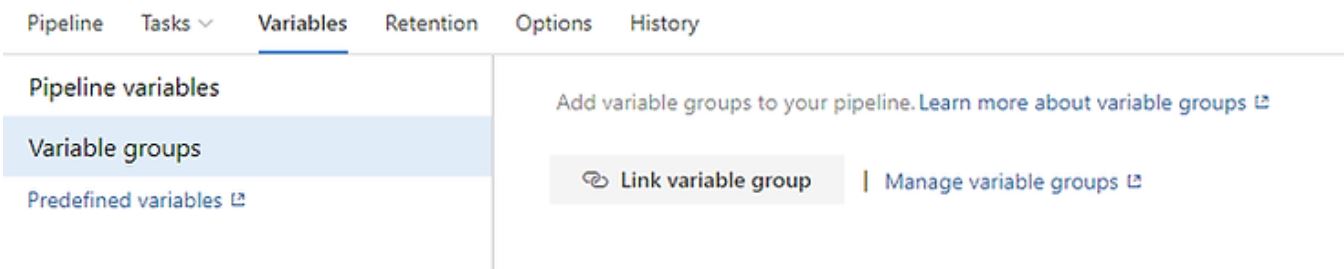
Then select Variable groups in the lower section and select Link variable group..
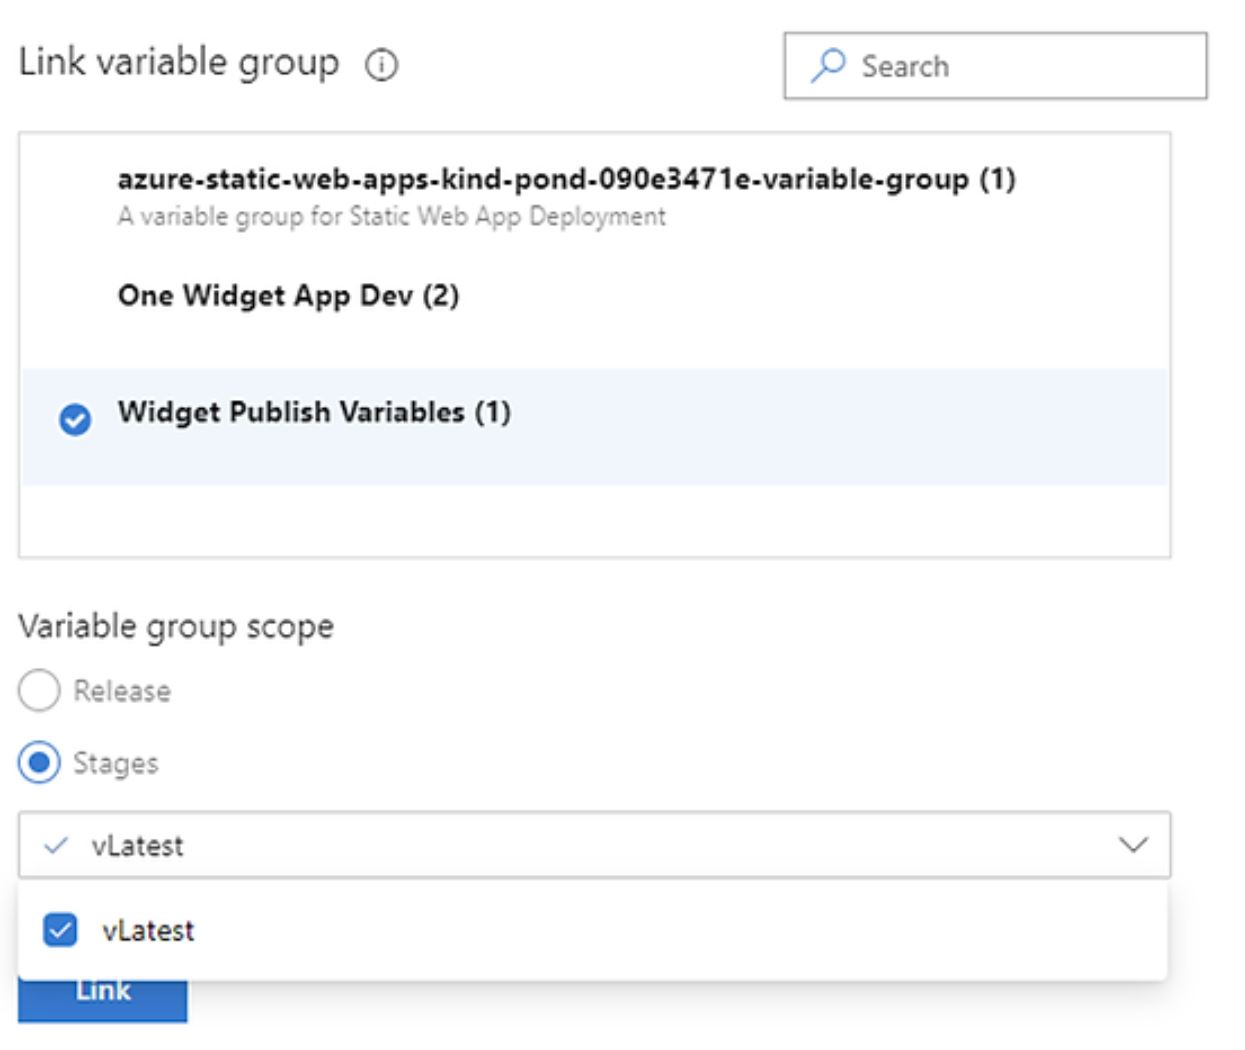
Select the variable group you created earlier, you can scope the group to be across the whole release, or to a specific stage. Scoping to a stage is useful when you have multiple stages in your pipeline and you want to configure different settings for each, for example pushing to a test, pre-production, and production environment. With the variable group now linked, we can use the npm token in our pipeline. Go back to the pipeline and we will configure our publish stage. Click to edit the vLatest stage.
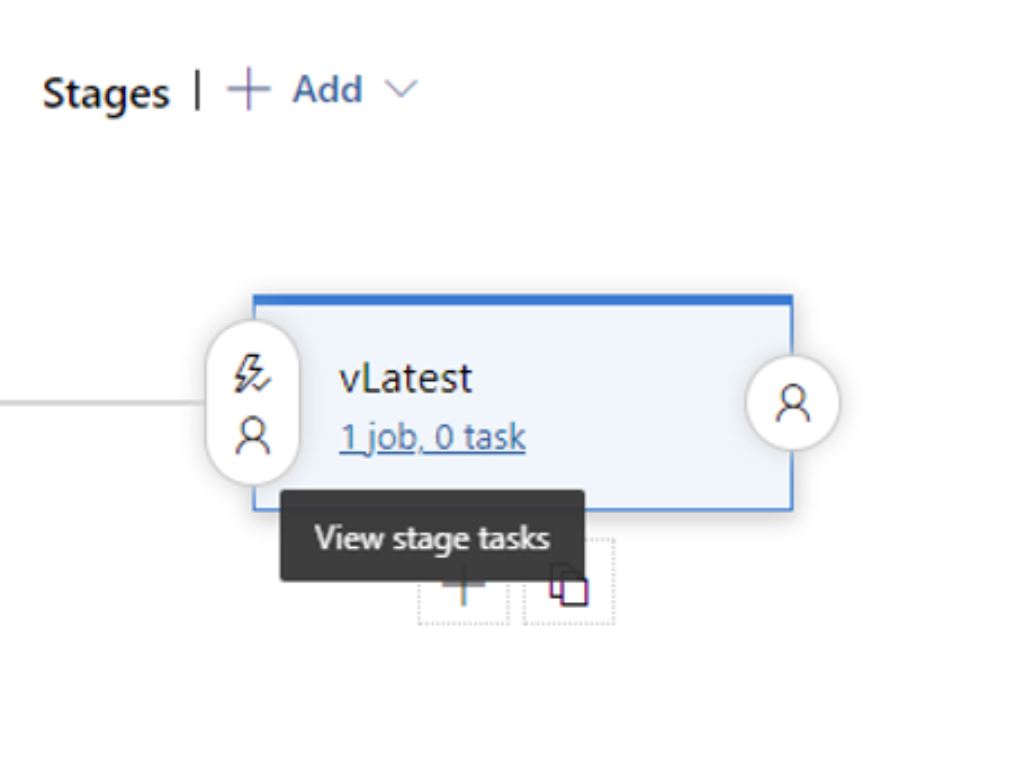
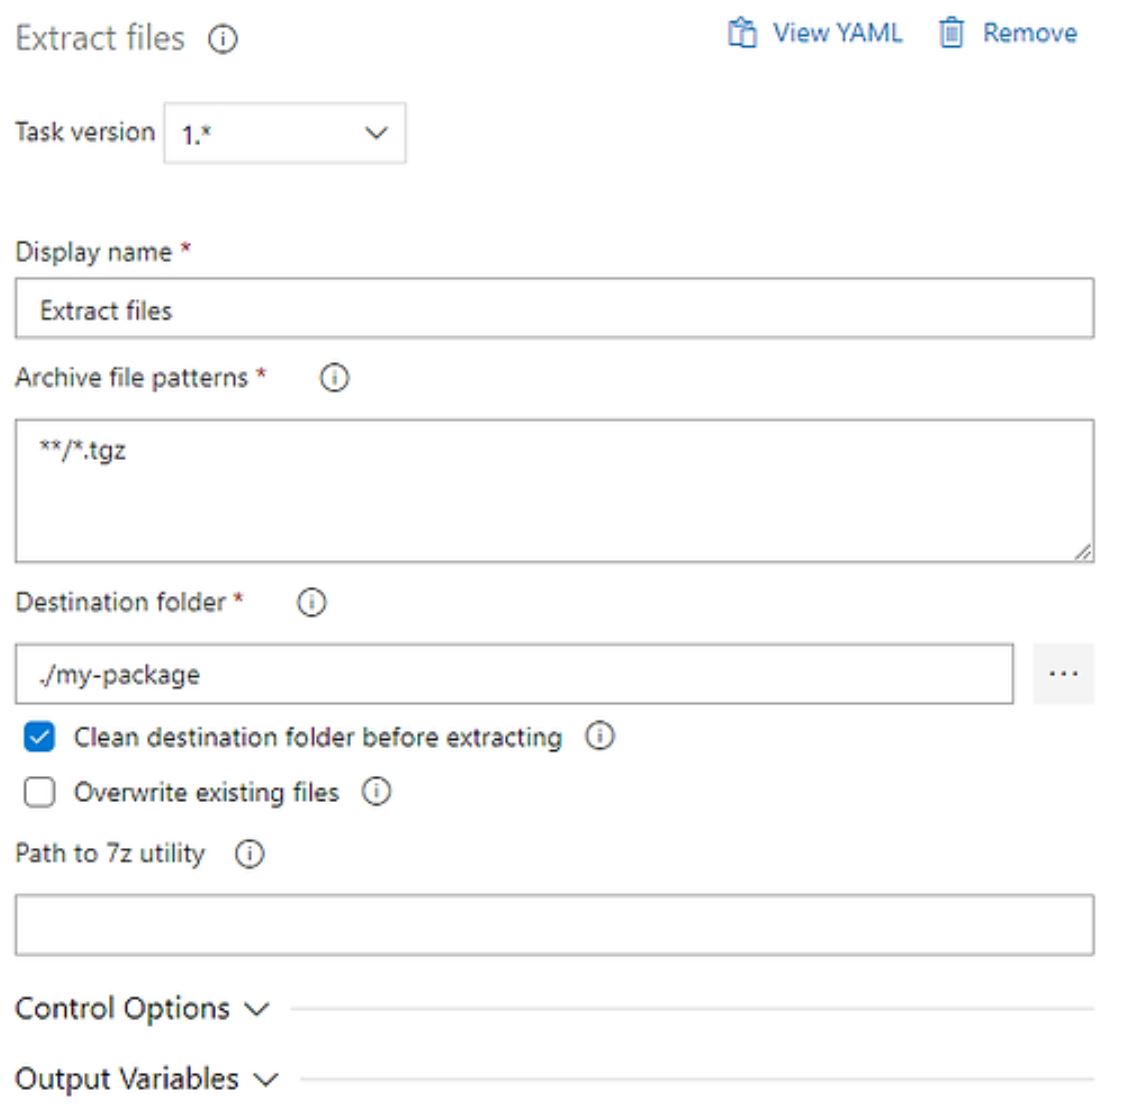
Click the + button to add a new task to the Agent job. The first step we need to do is extract the files from our artifact. To do this we will add and configure an Extract files task.
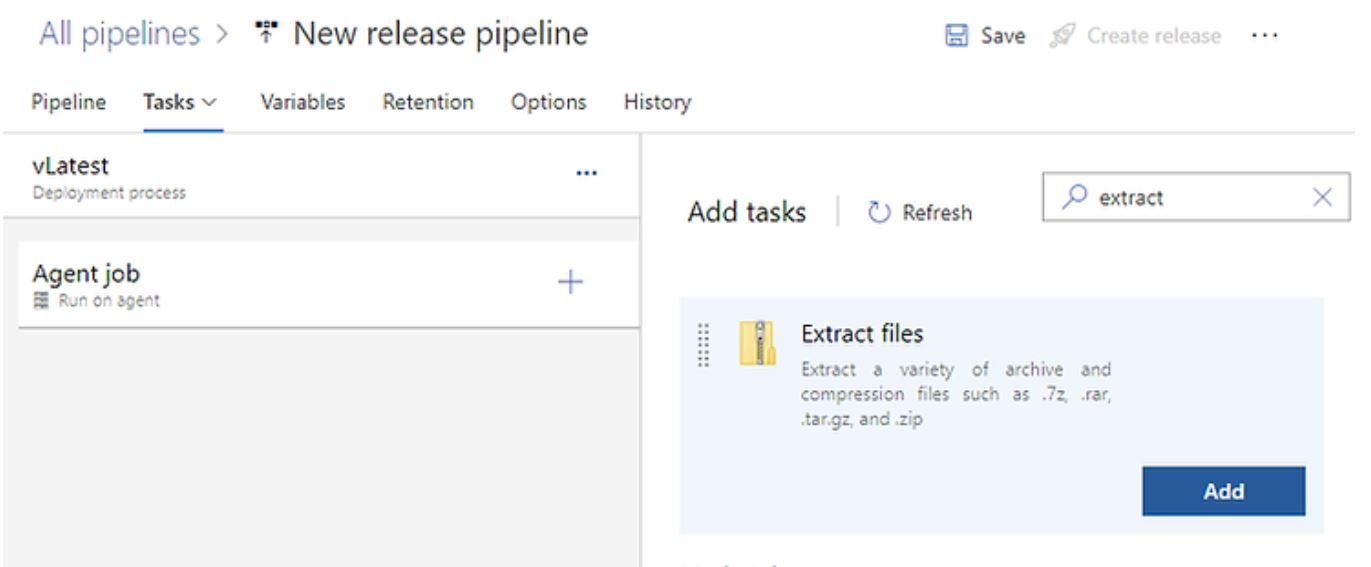
Configure the task as follows, pay attention to update the Archive file pattern to tgz.
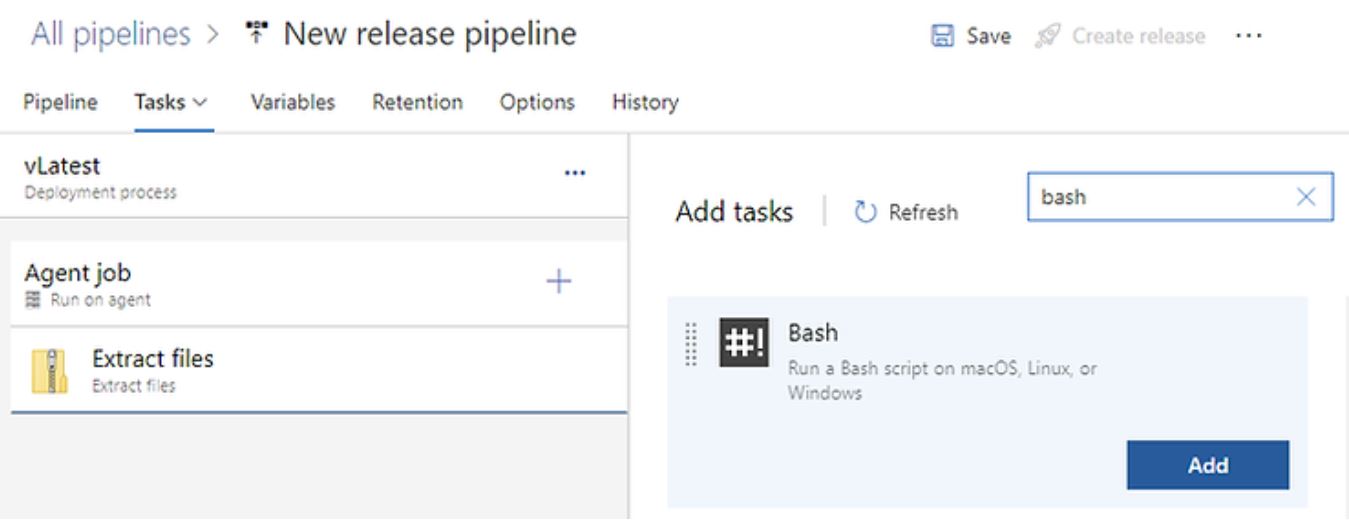
Next add a new Bash task.
Configure the task as follows.
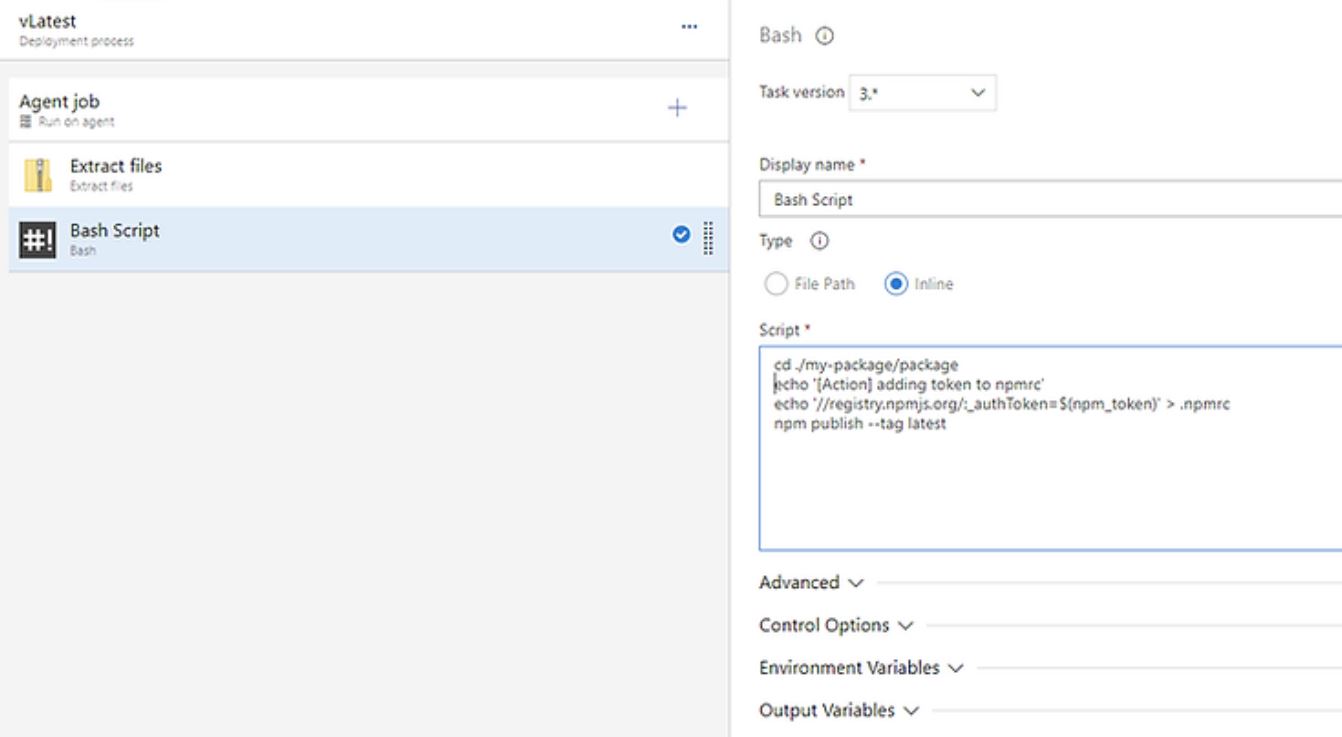
The code does the following
1. Changes the working directory to where our package was extracted to.
2. Next, we tell npm that we need to authenticate, and for this package, use this token. Note the token is paramertised, pulling in our npm token from our variable library.
3. Finally, we publish the package with the latest tag, this is so that it will be the default version that gets installed by npm.
We now have a release pipeline configured that will publish up to npm anytime we check the code into the master branch. However, we may want to seek approval before we do that. We can use a pre-deployment approval to send an email to approvers, who will then have the ability to approve the release, which will then trigger the release.
Click the lightning bolt on the left side of the vLatest stage.
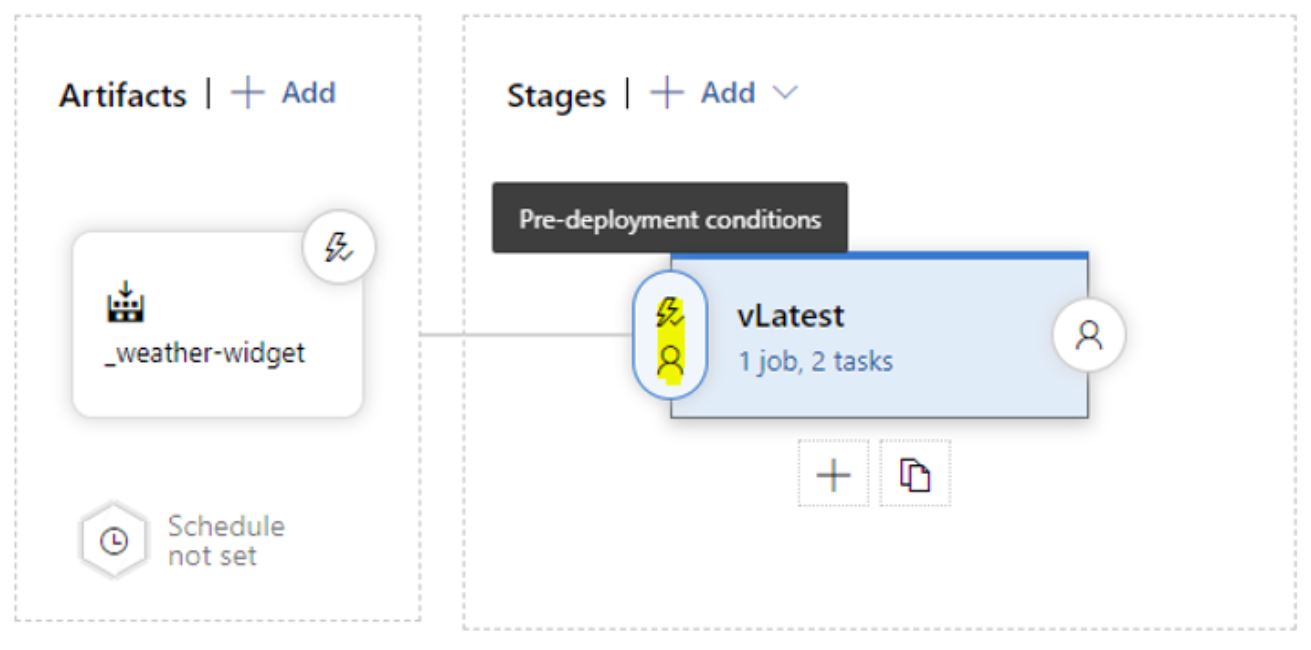
Enable the Pre-deployment approvals Configure the approvals, by searching for users who can approve. You can set various rules as to how many approvals are required and who can approve.
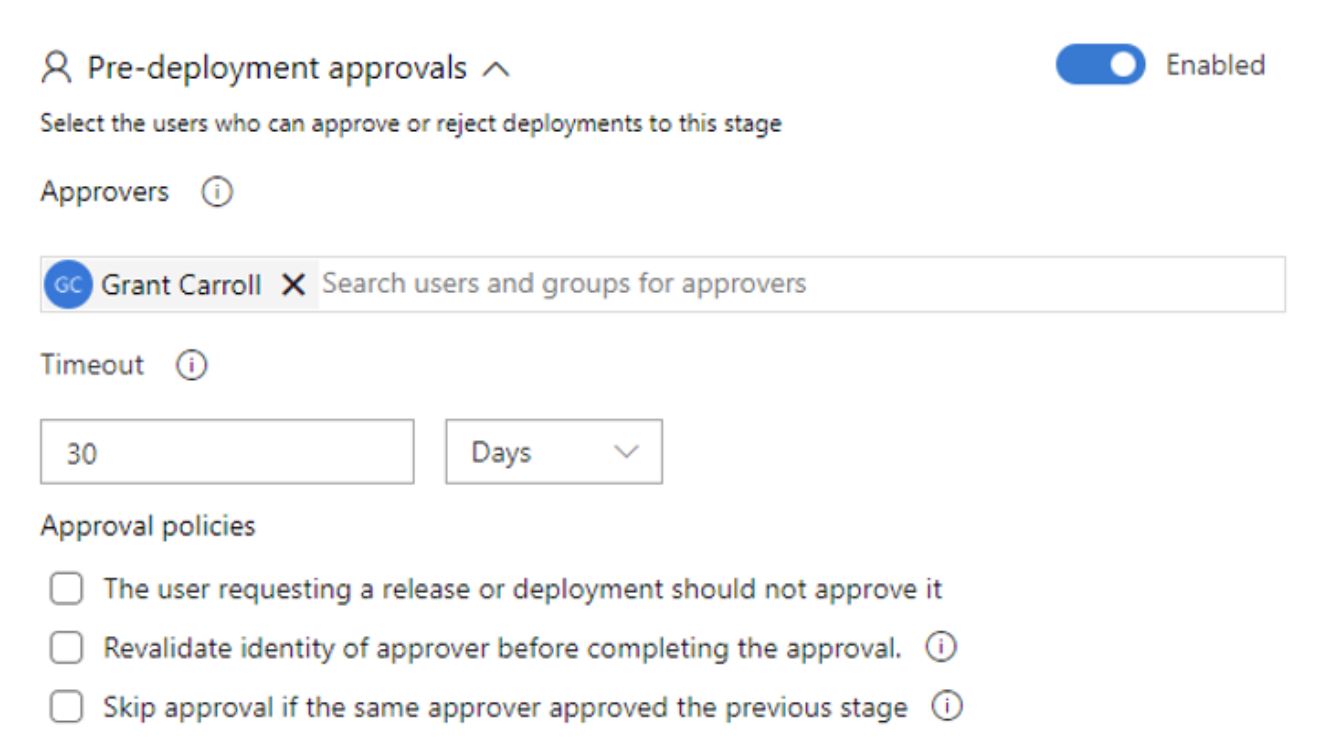
Save the pipeline, and you are done. Now users who are on the list will receive an email asking them to approve the release.
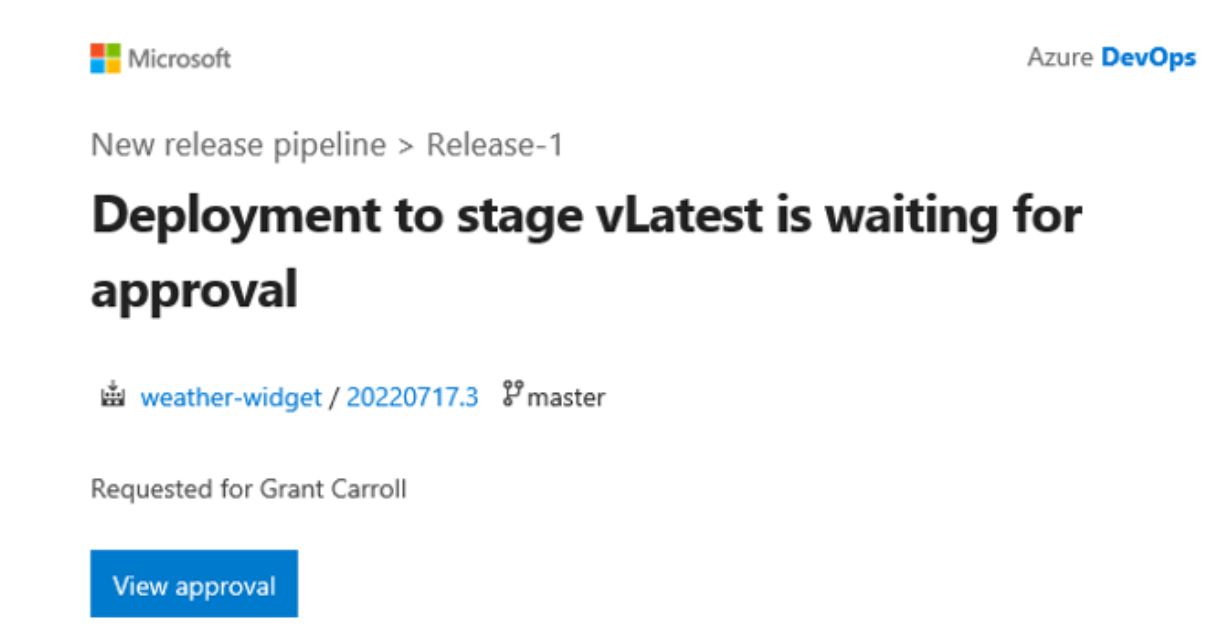
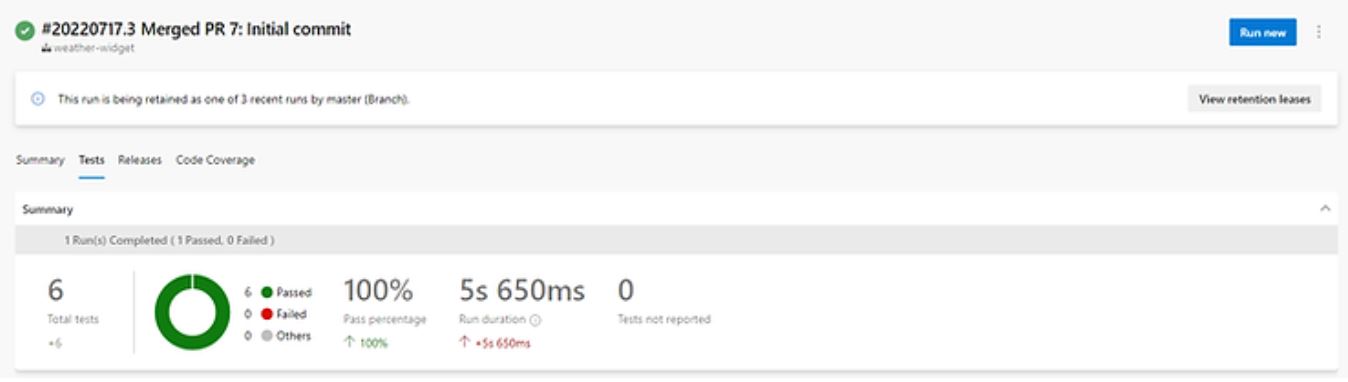
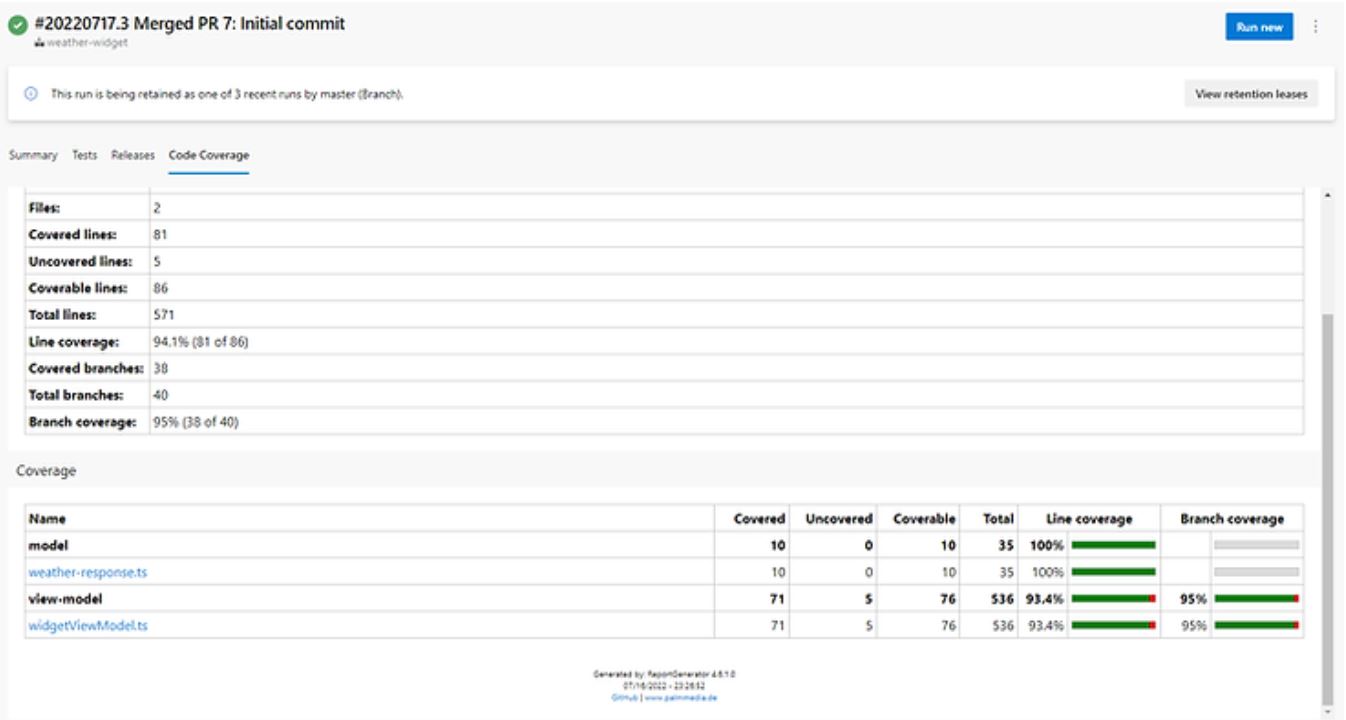
Clicking on the release details will take the user to pipeline results, where the results of tests and code coverage can be viewed.
Conclusion
We now have widget and workflow that will allow us to develop, test, and publish our widget to npm.
We can add to this by using the out-of-the-box tools in DevOps to track and manage enhancements, bugs, and new features.
In the next post, I will show how we can wrap the widget we have created into an Experience Builder application and build and distribute this via DevOps.
View all blog posts